
This headdress was a little experiment for a bigger project I have planned for the future! I've also always dreamed of having an angel headdress, so I decided to give it a spin and figure out how I'd construct it. Thankfully, I documented quite a bit of my process especially the moments where I wasn't happy with how it was looking, so I hope you're excited to see that :^D
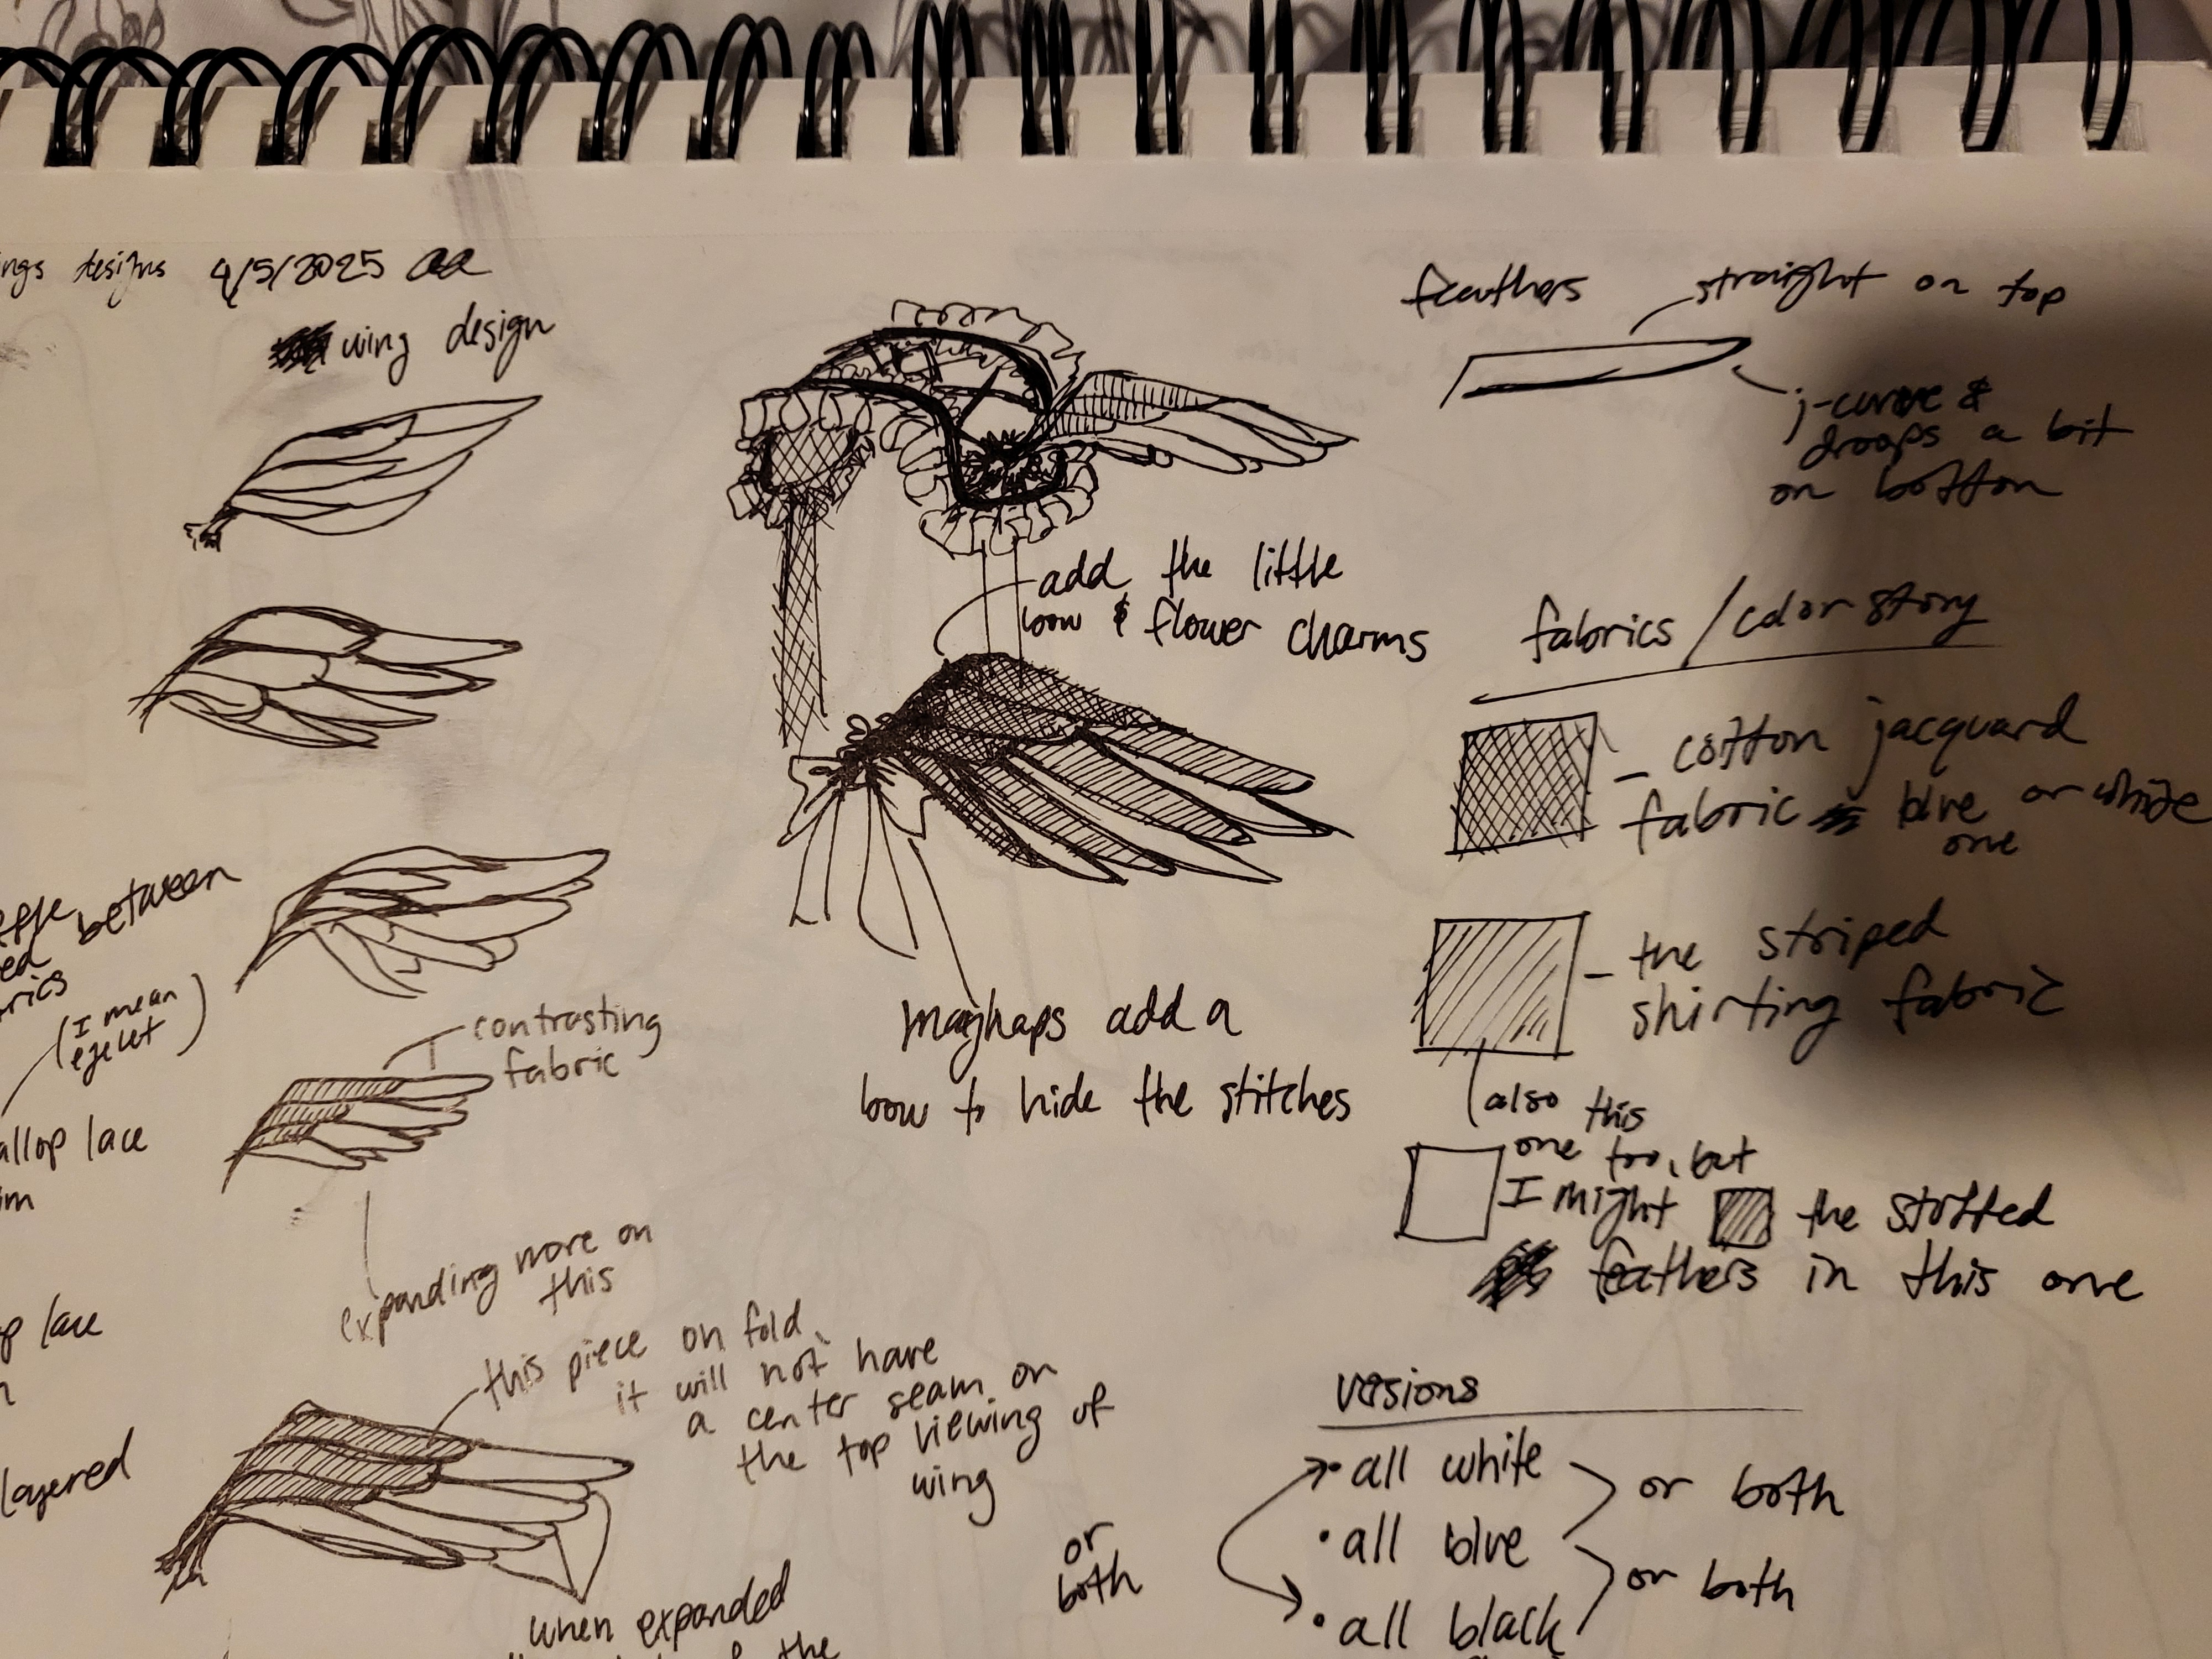
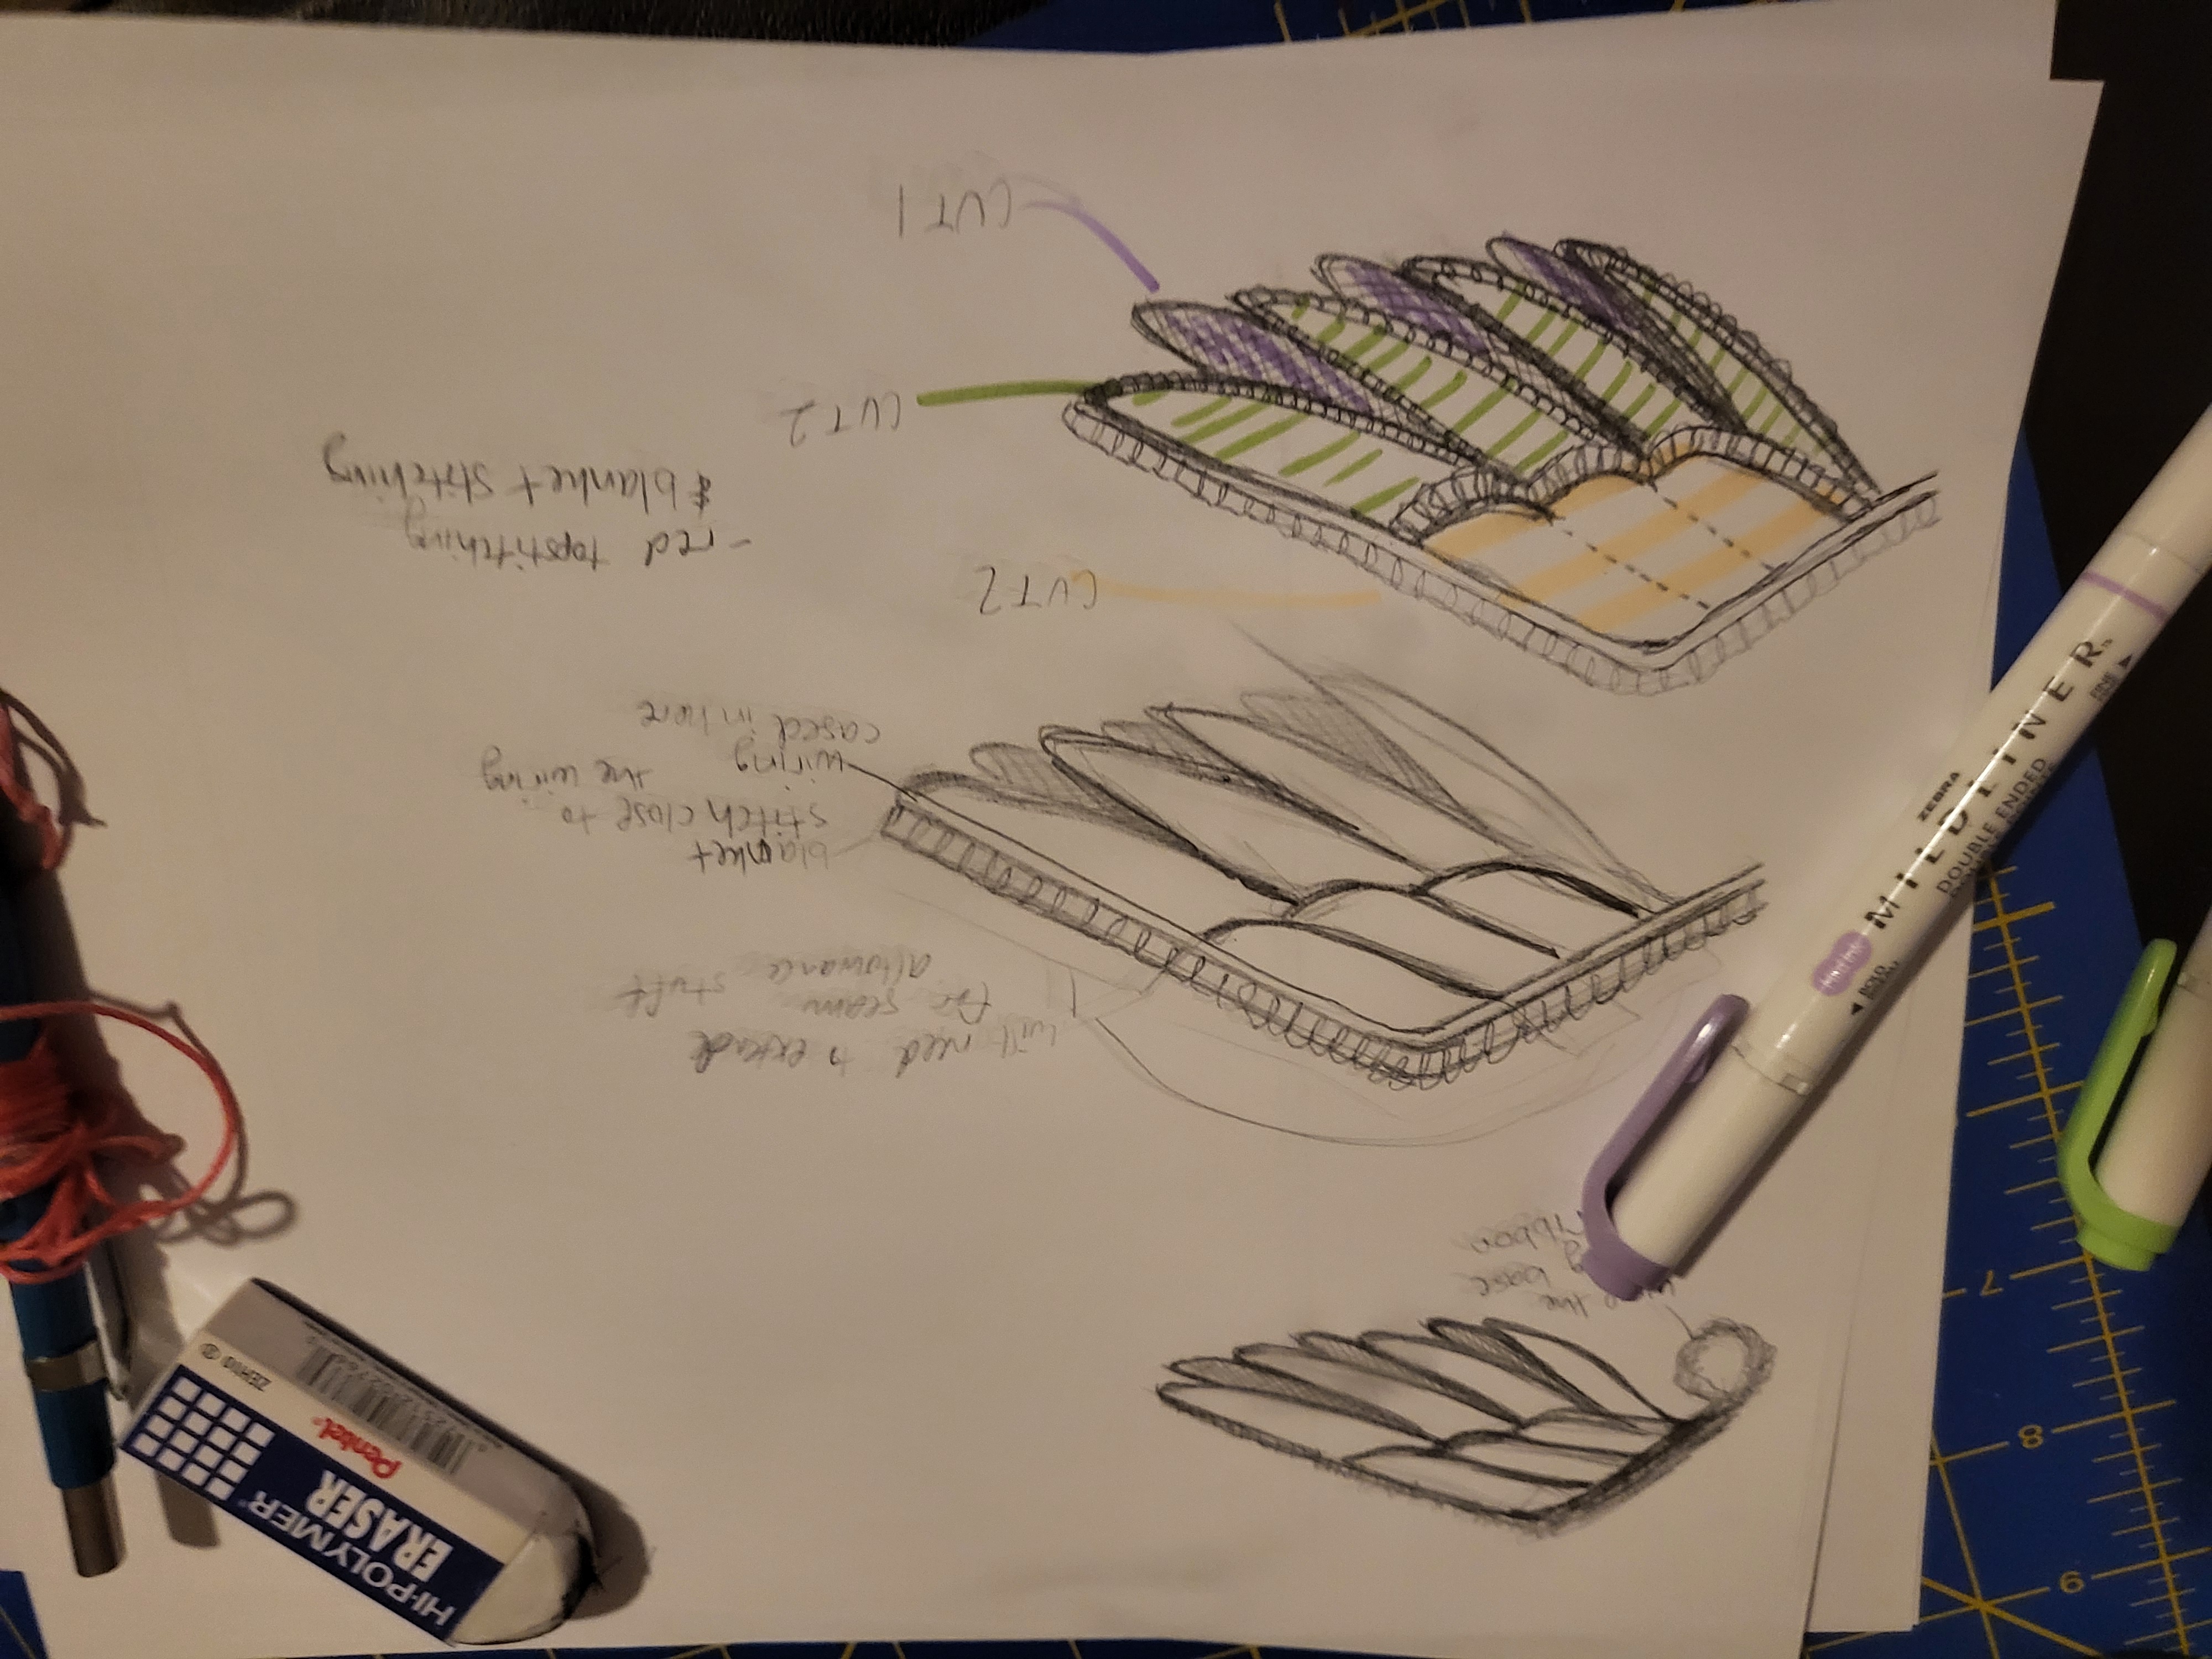
Here's a couple sketches and some brainstorming notes. At first I wanted to go with my usual white and blue, but I also wanted to make use of my other fabric scraps so I ended up going with red and white instead. This is also the initial design I had in mind for the feathers of the wings which turned out not the way I was hoping it would, but we'll get into that later on!
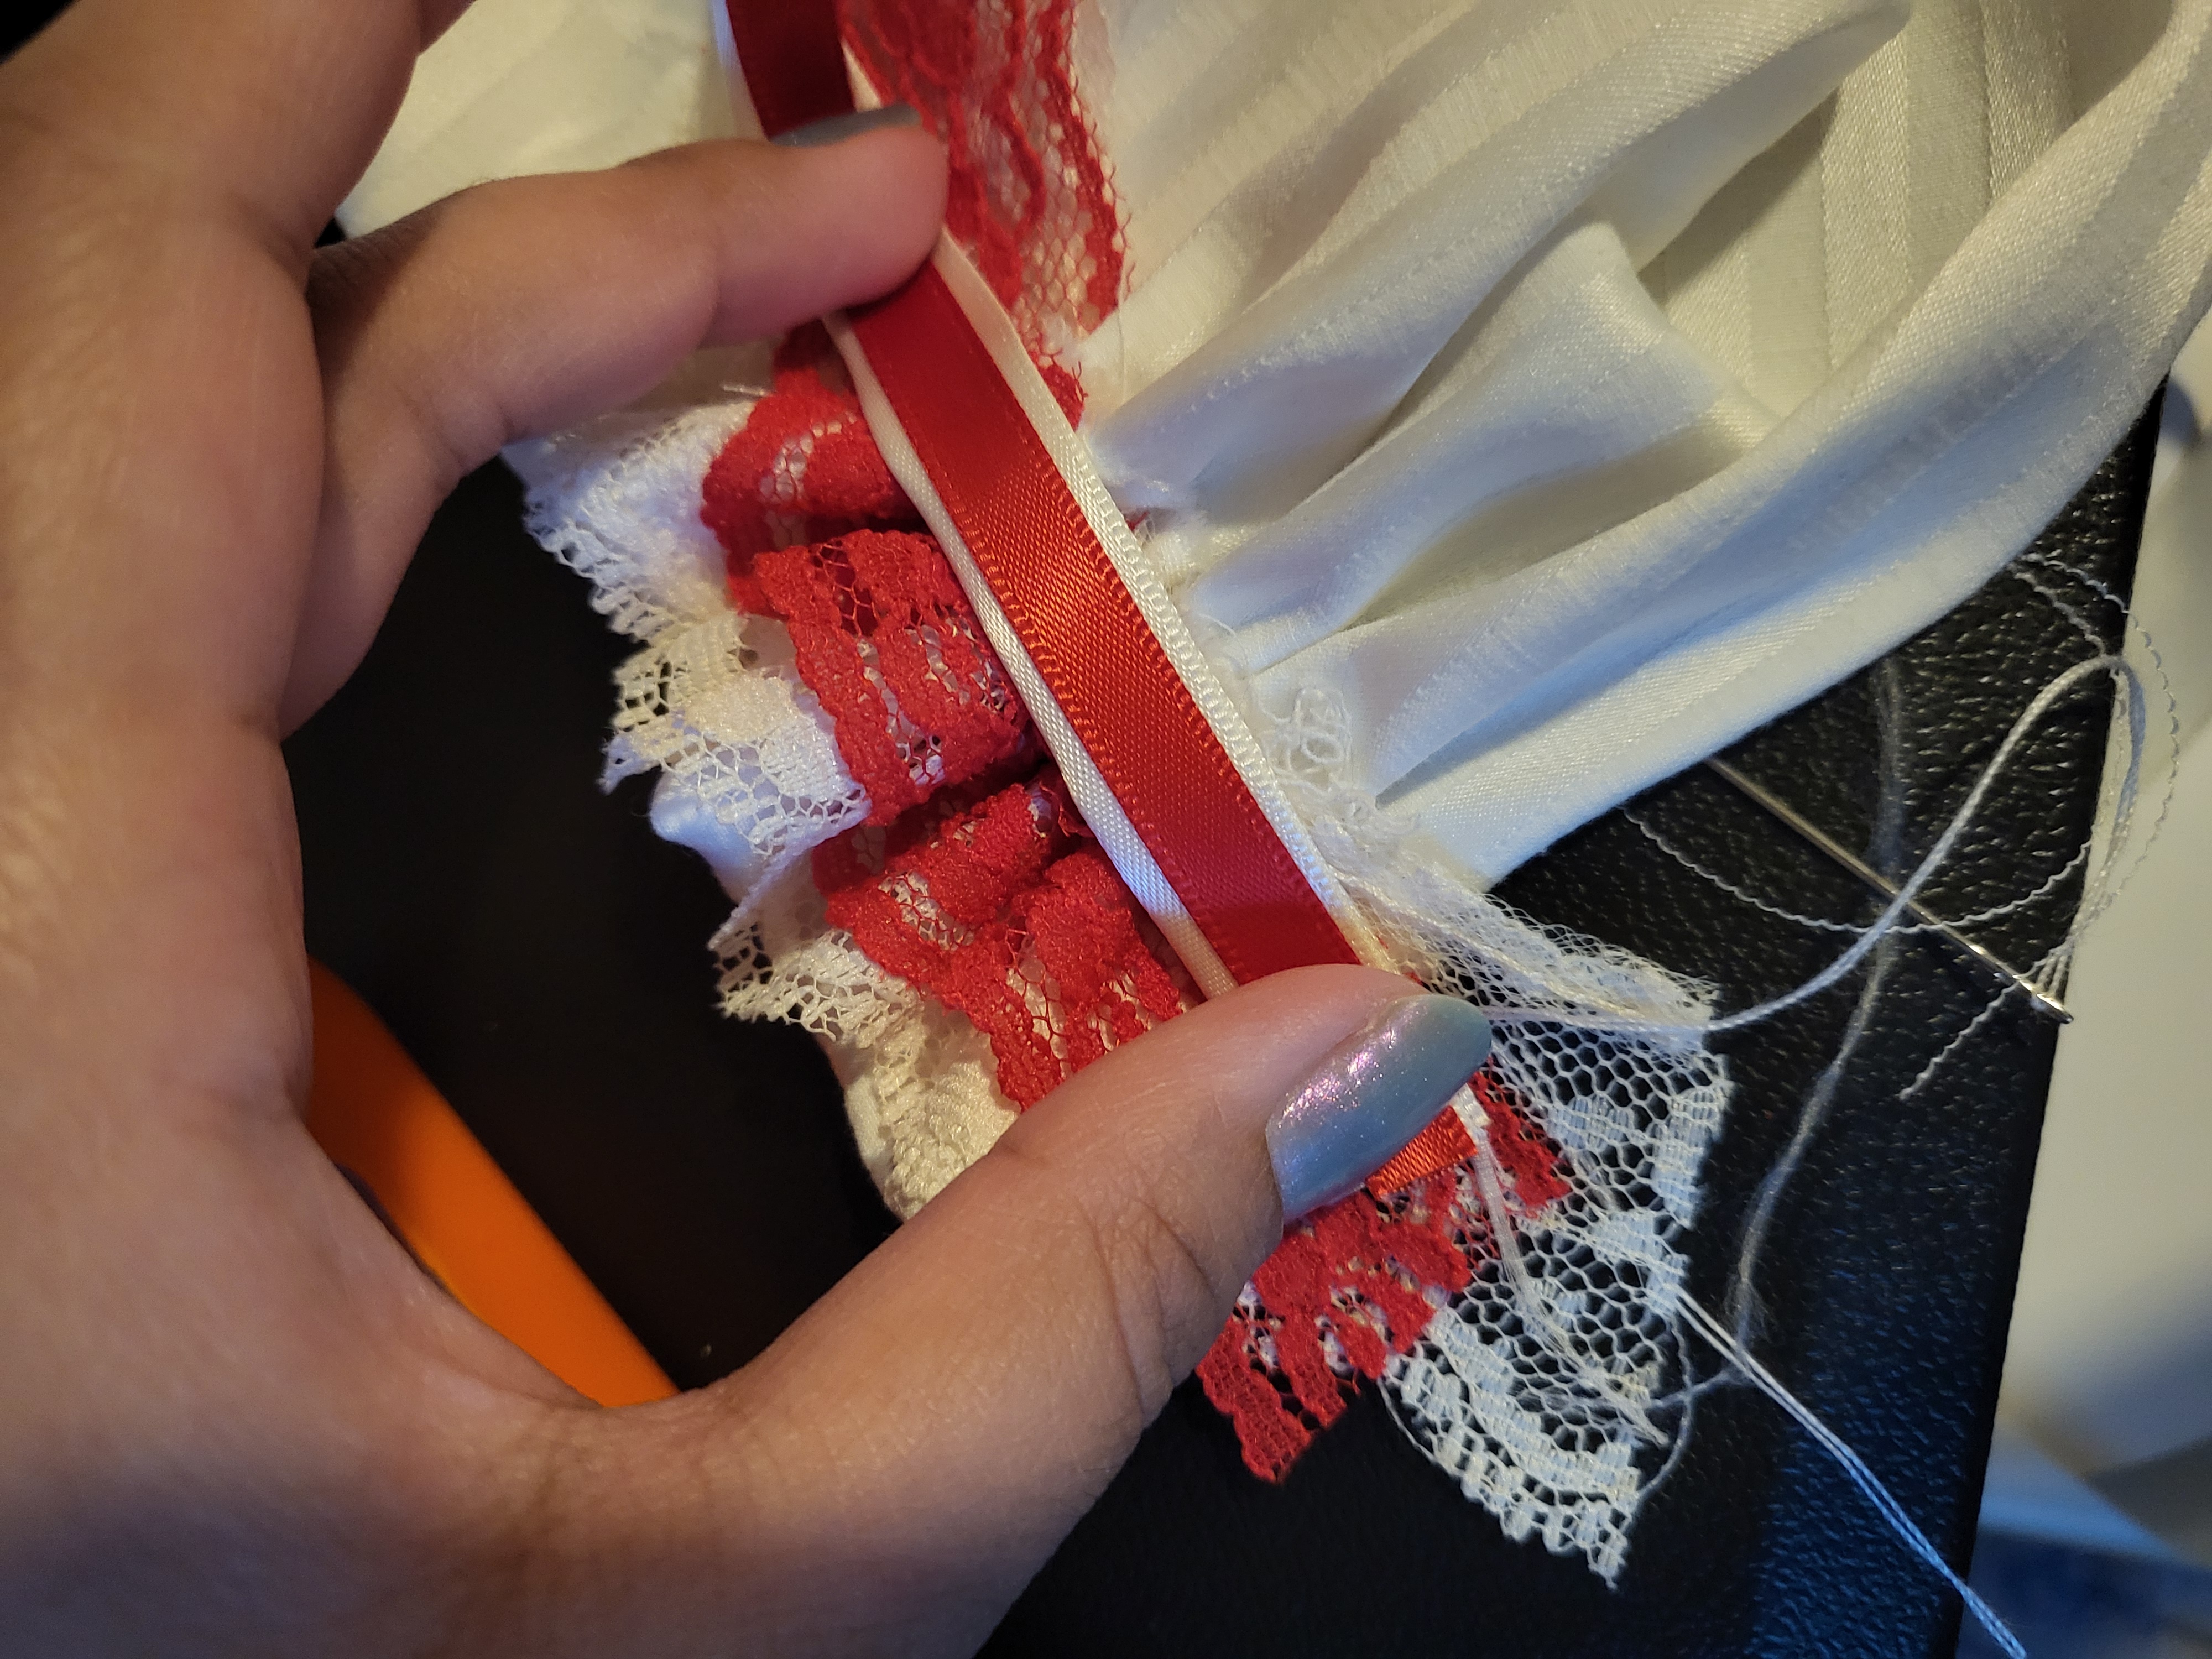
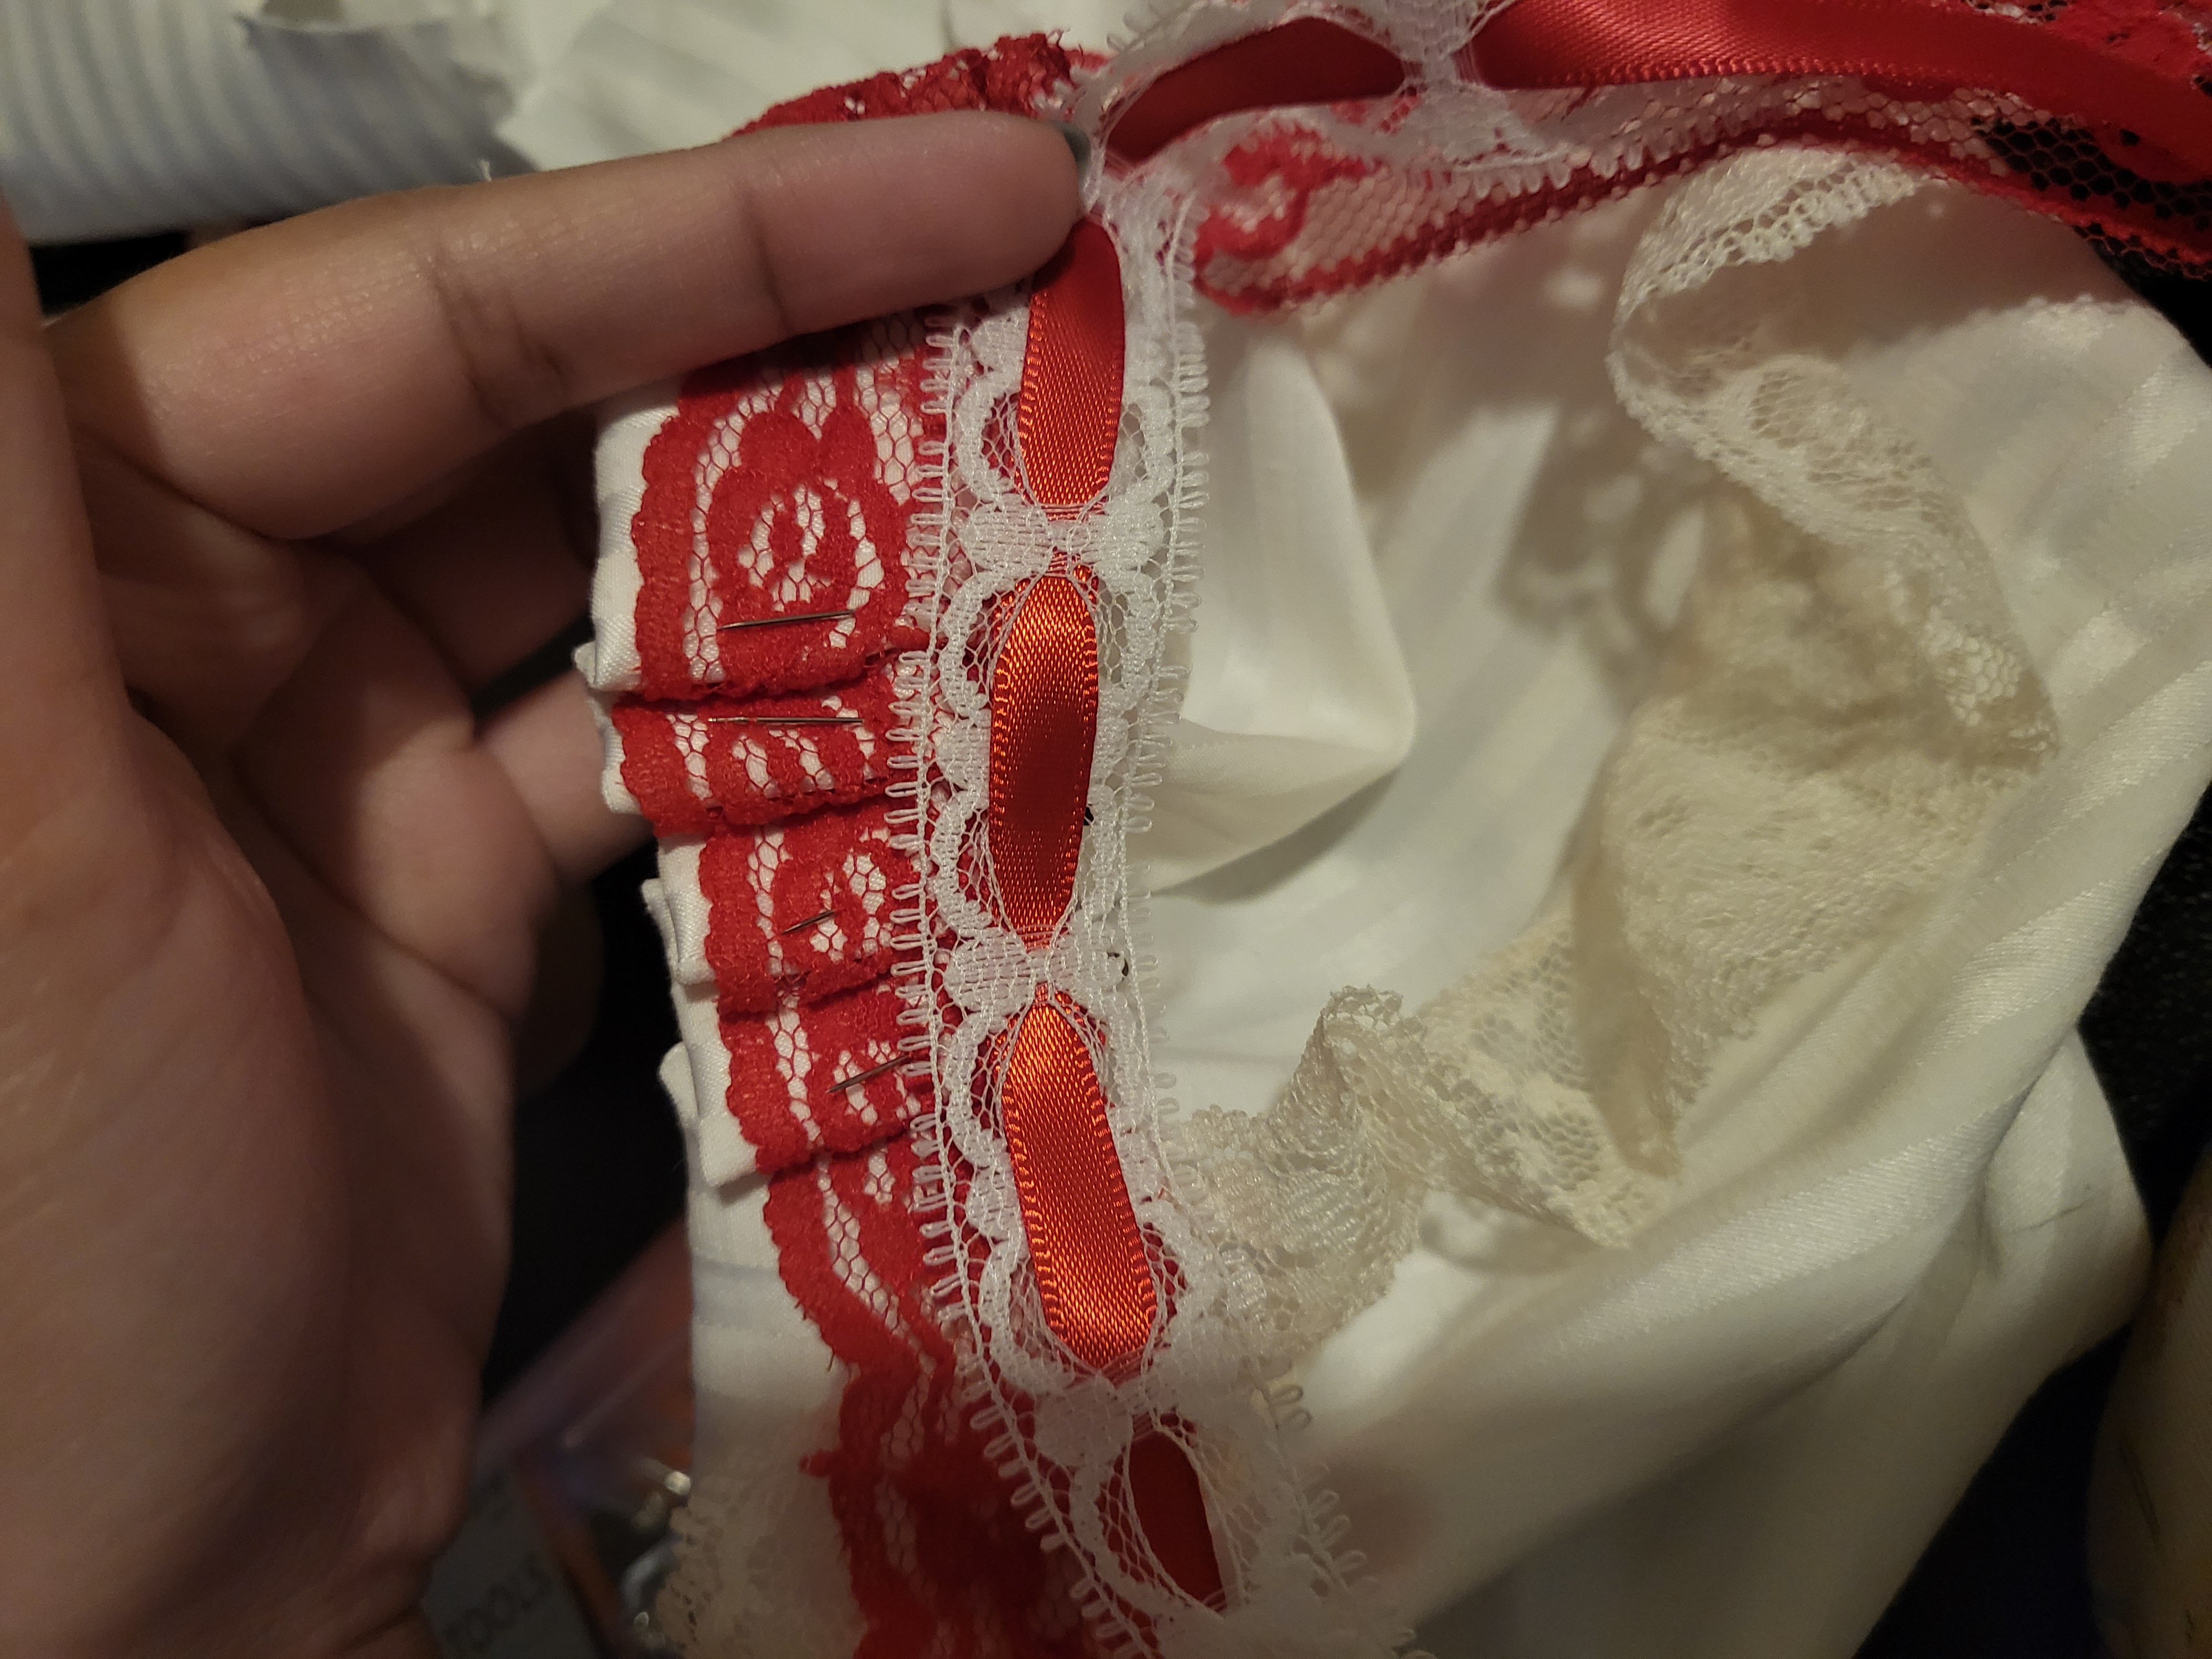
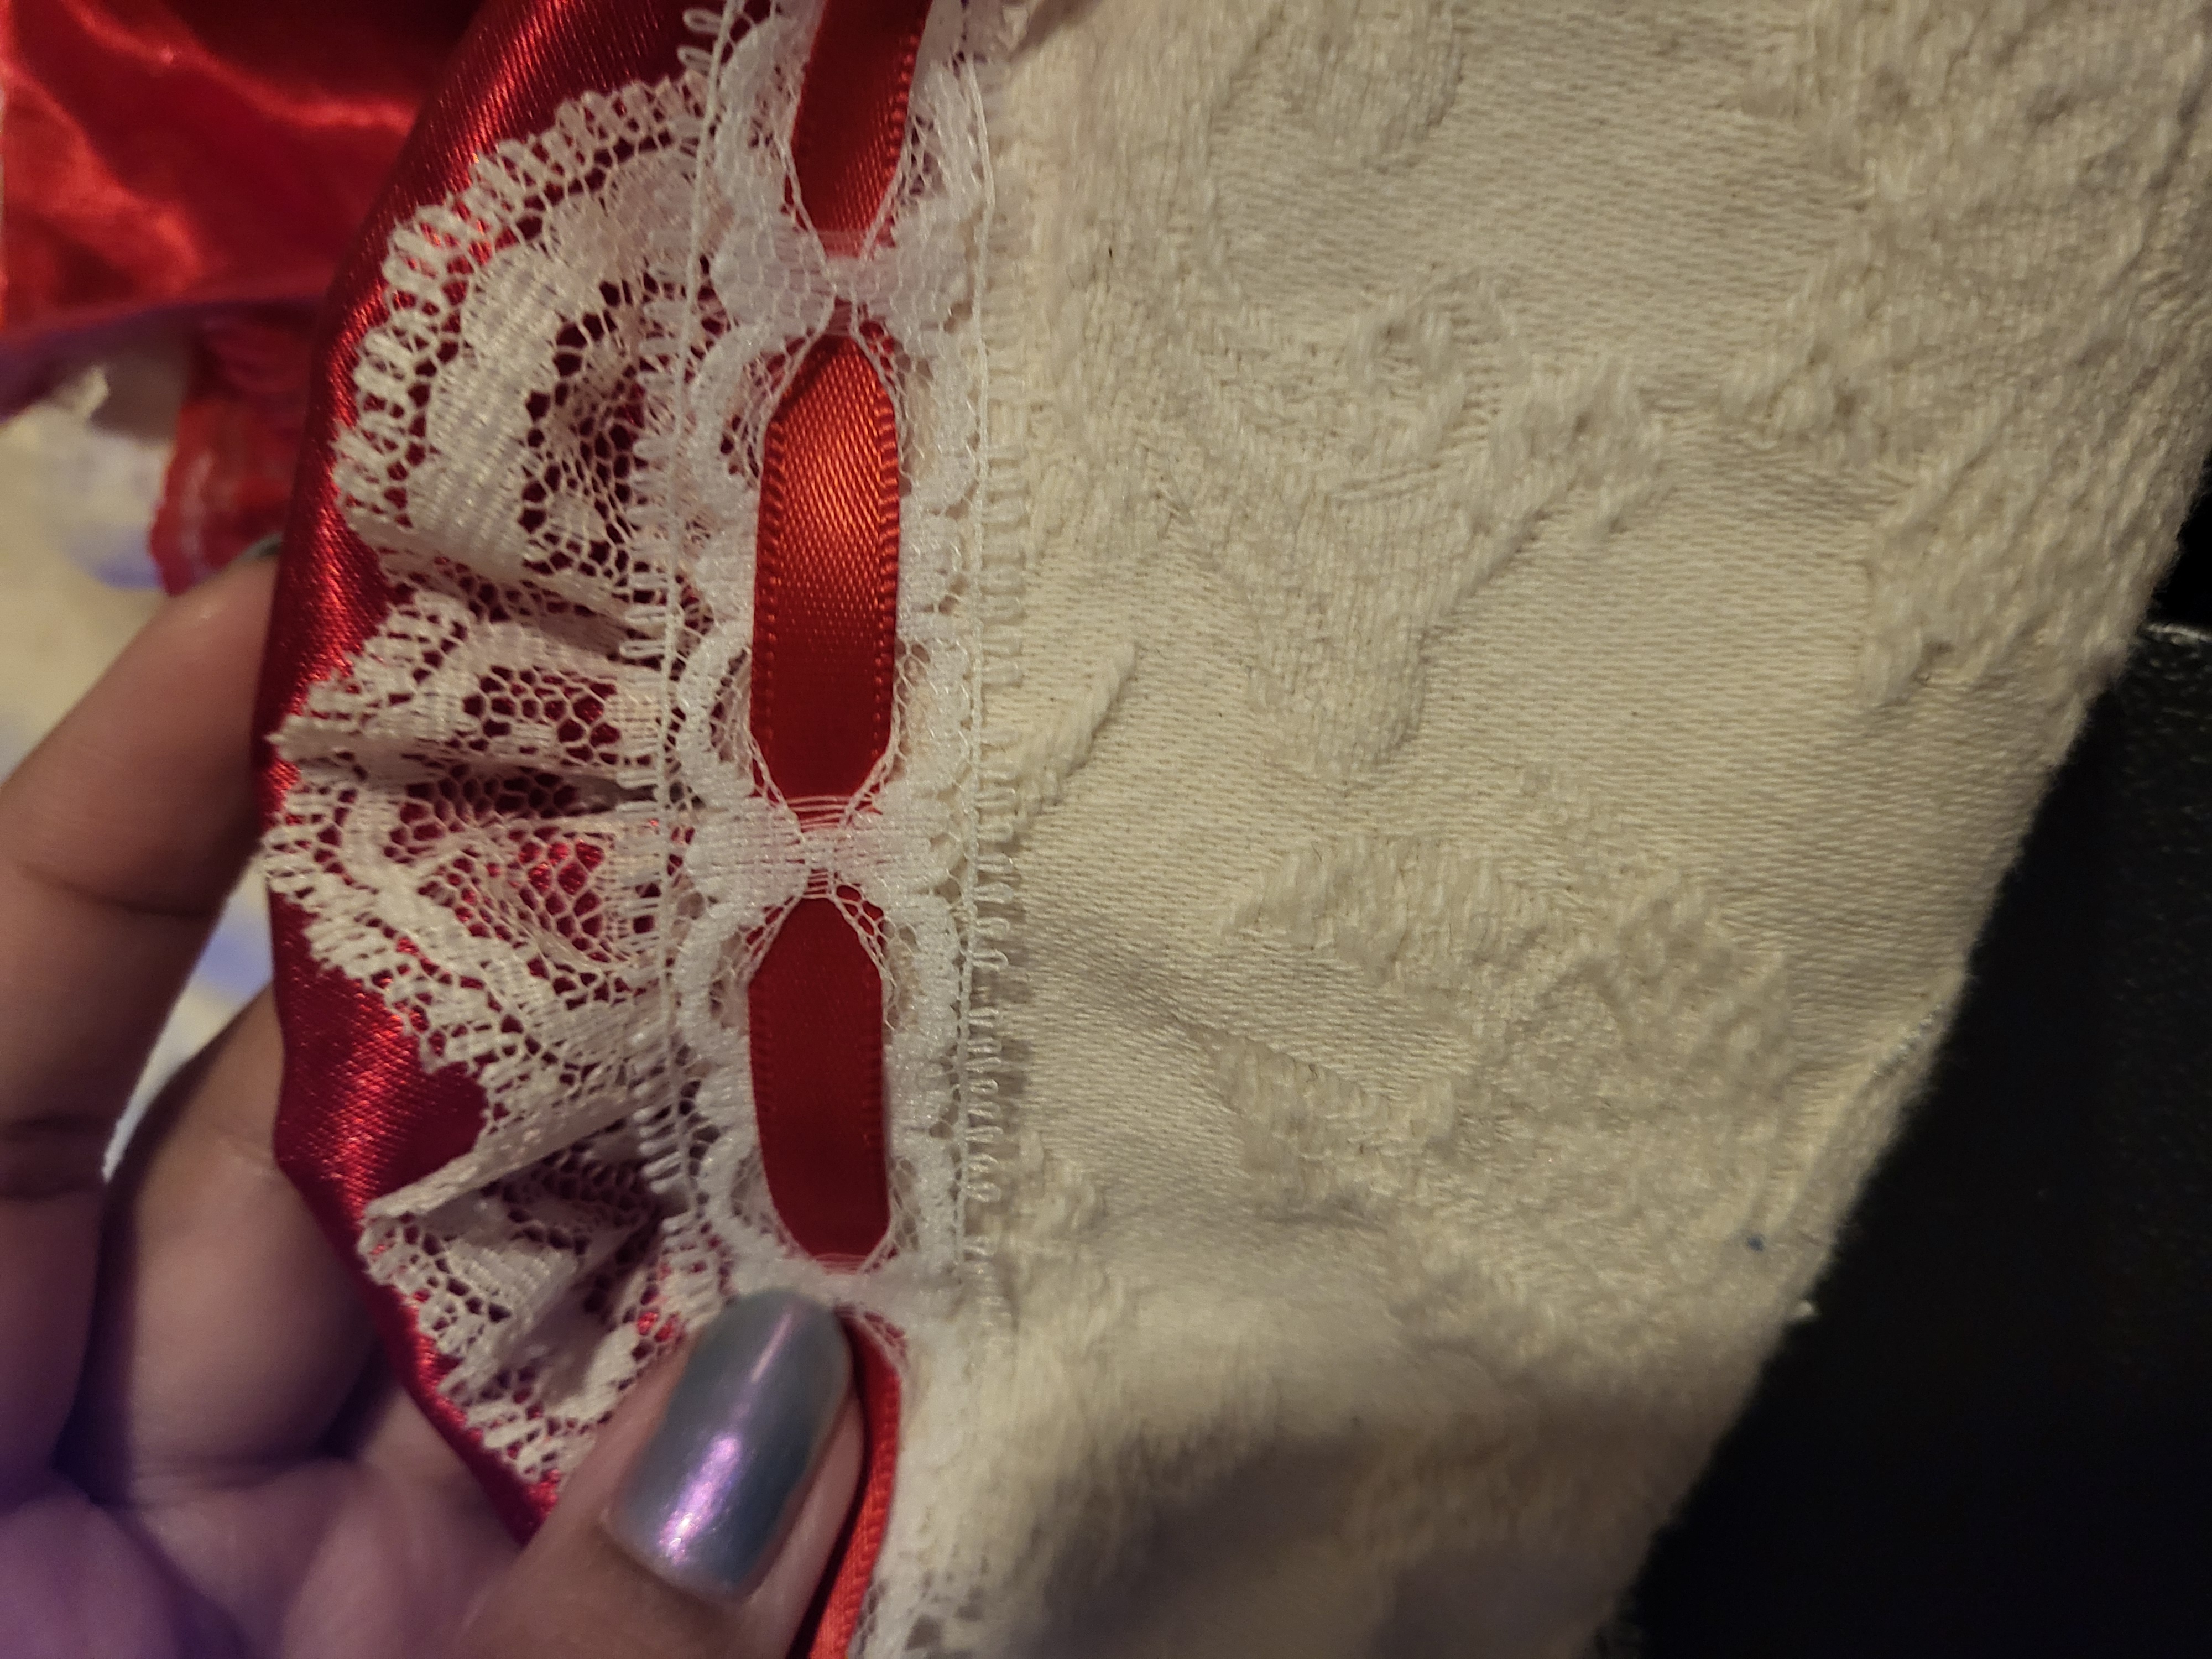
Firstly, I'll get into the process of making the base of the headdress. I have a bunch of different lace trims and I love experimenting different combos with ribbon and my other scraps of fabric. In these photos, I'm just testing to see which ones I like best together and as you can see I ended up choosing the last option.
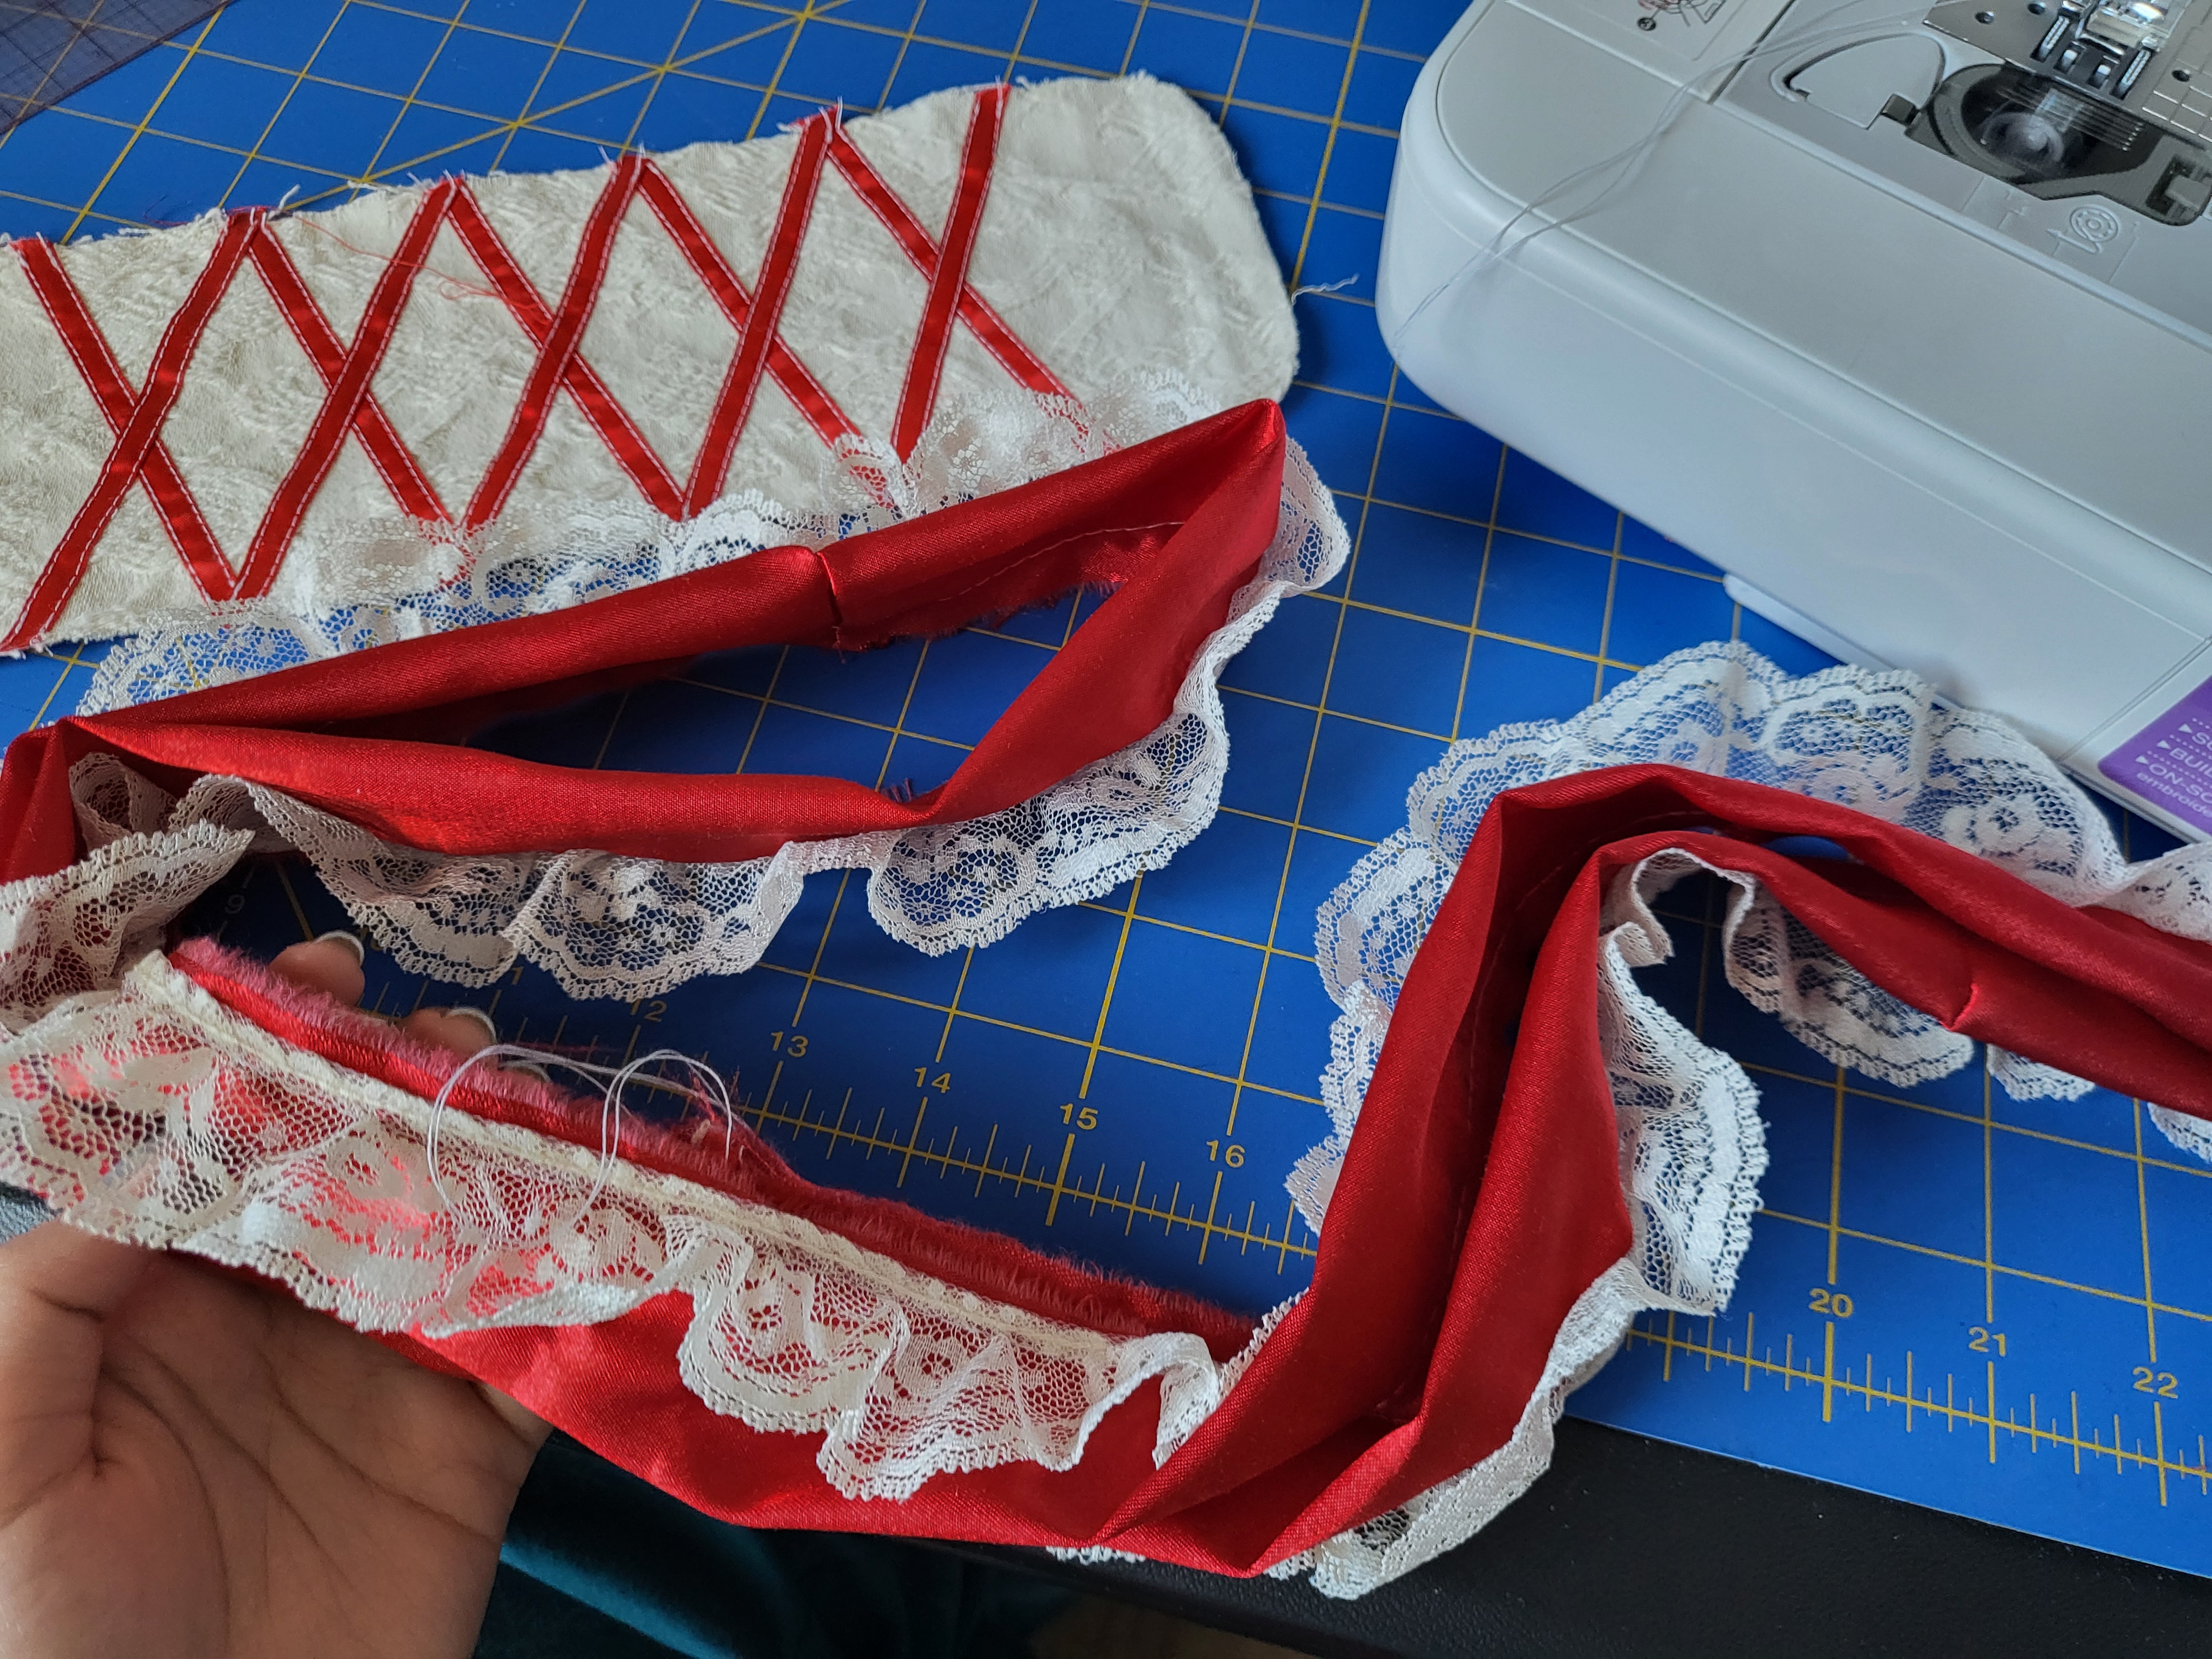
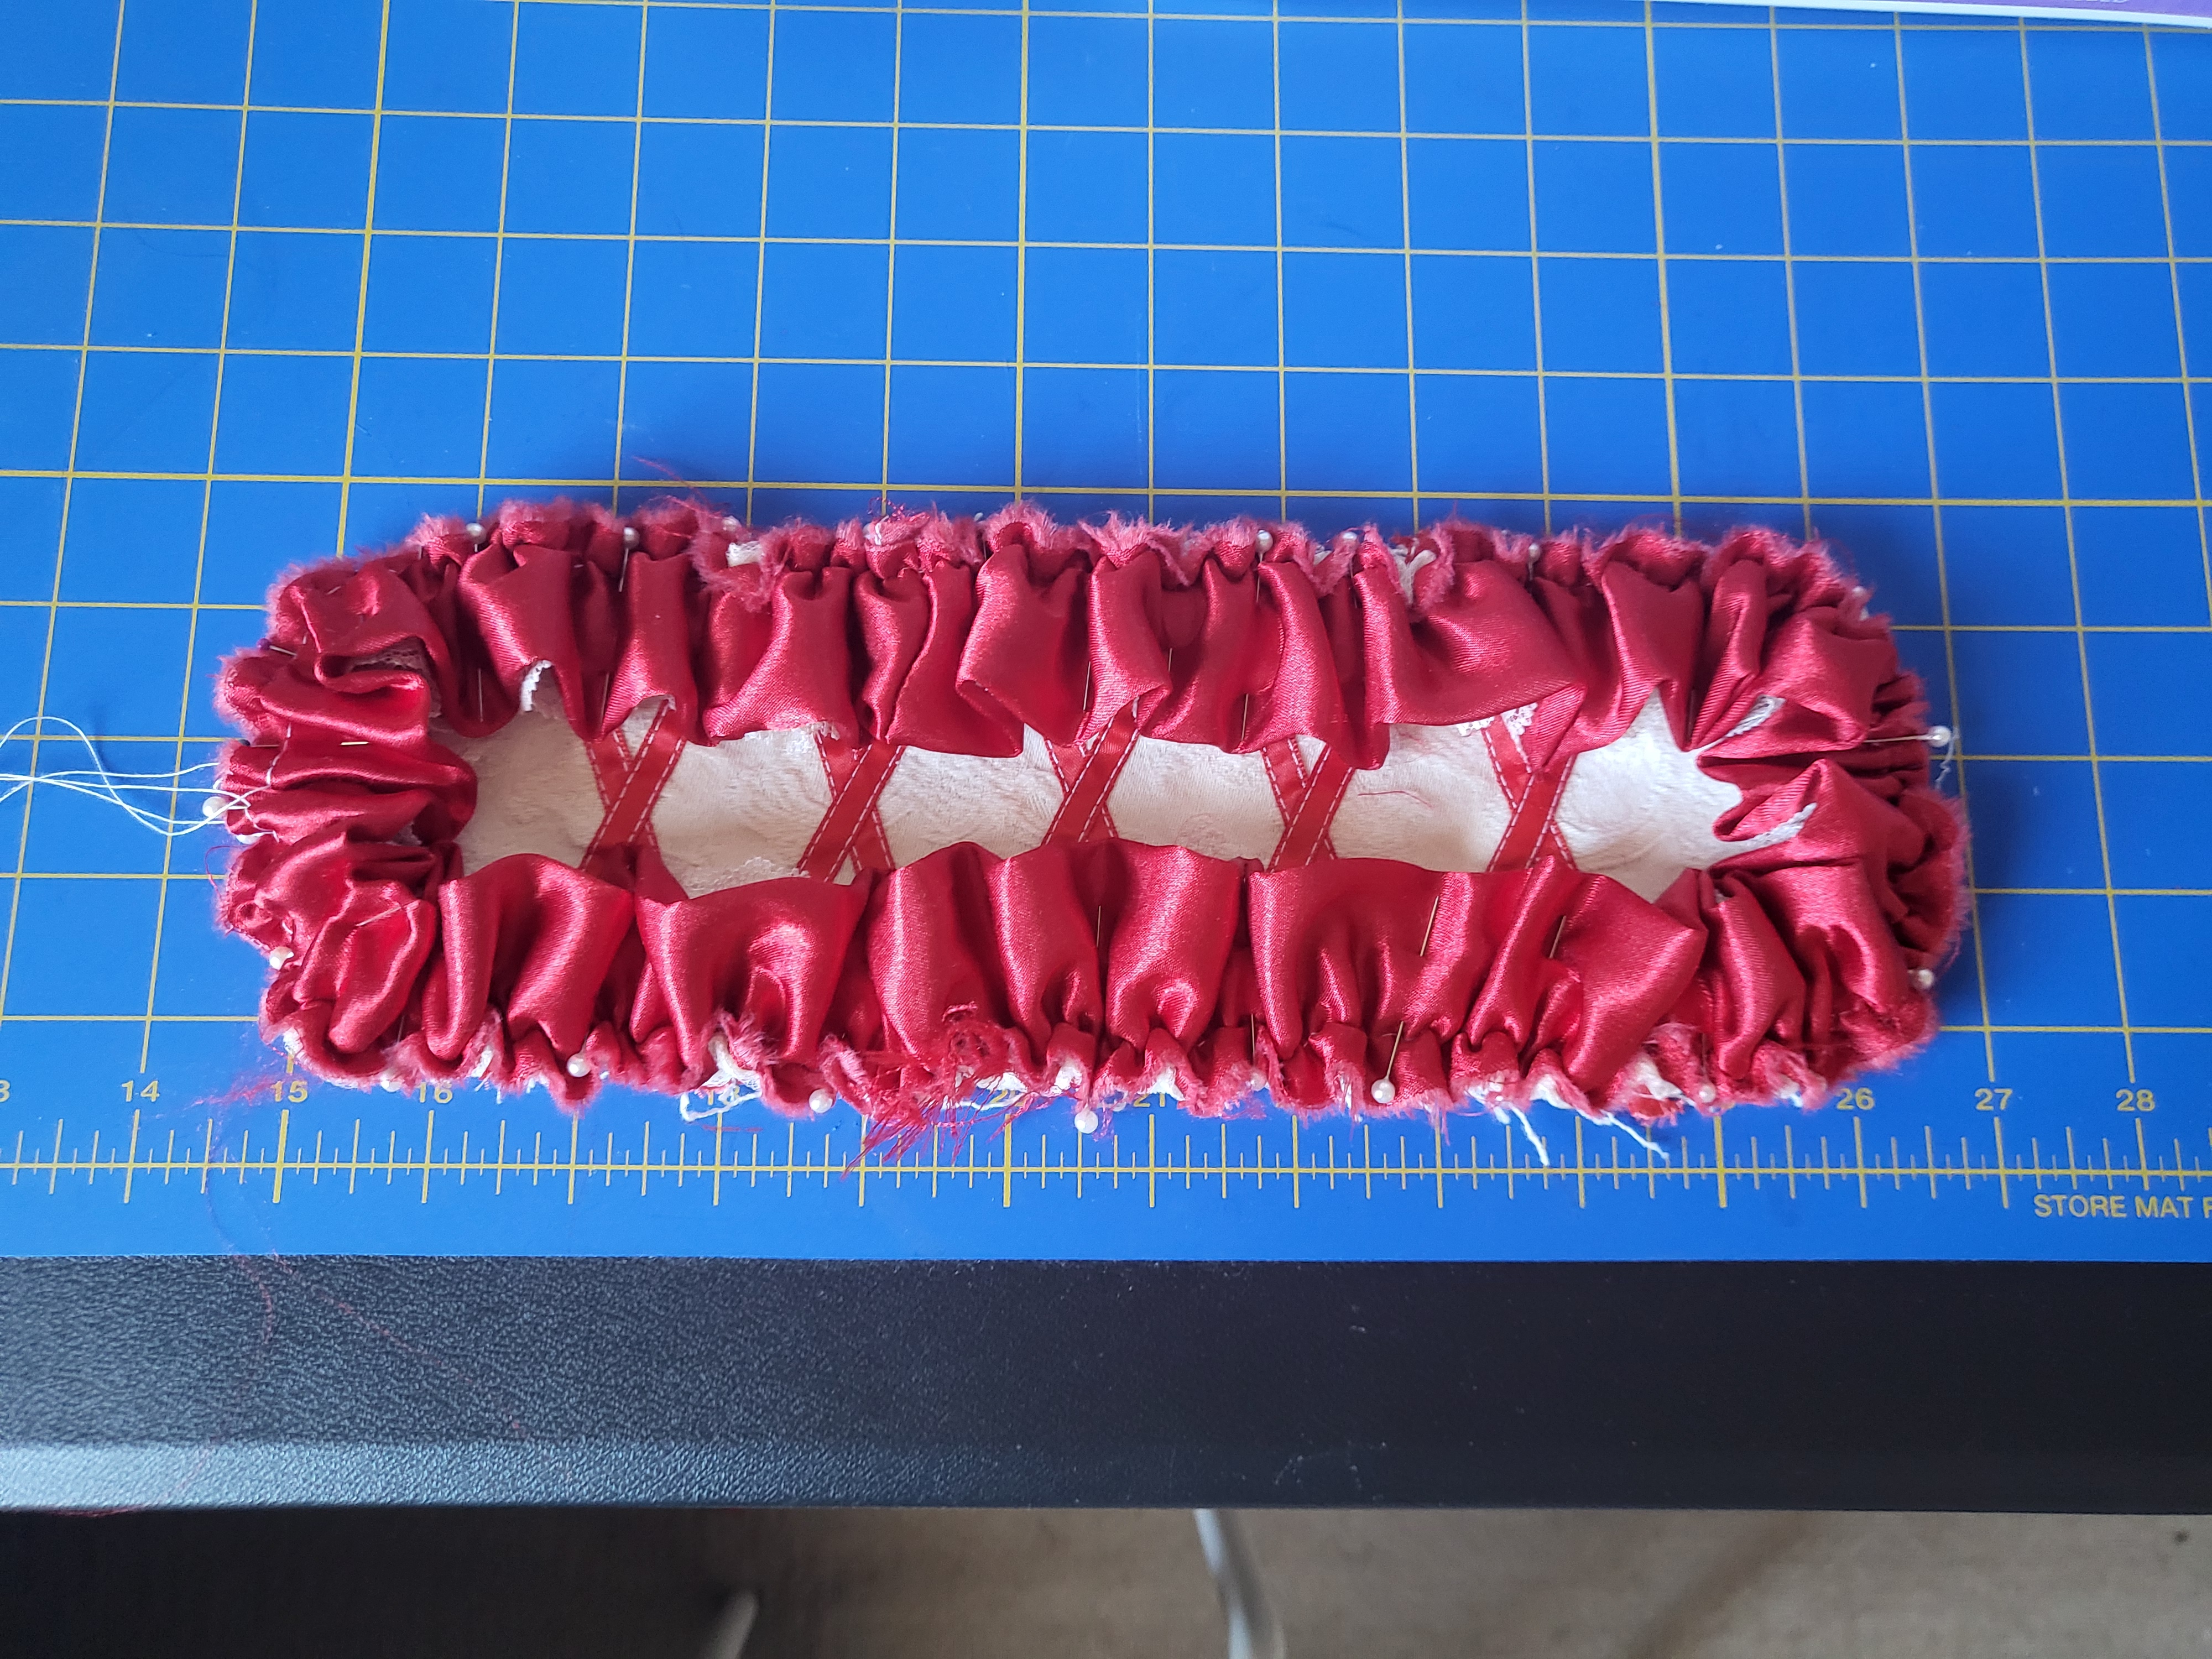
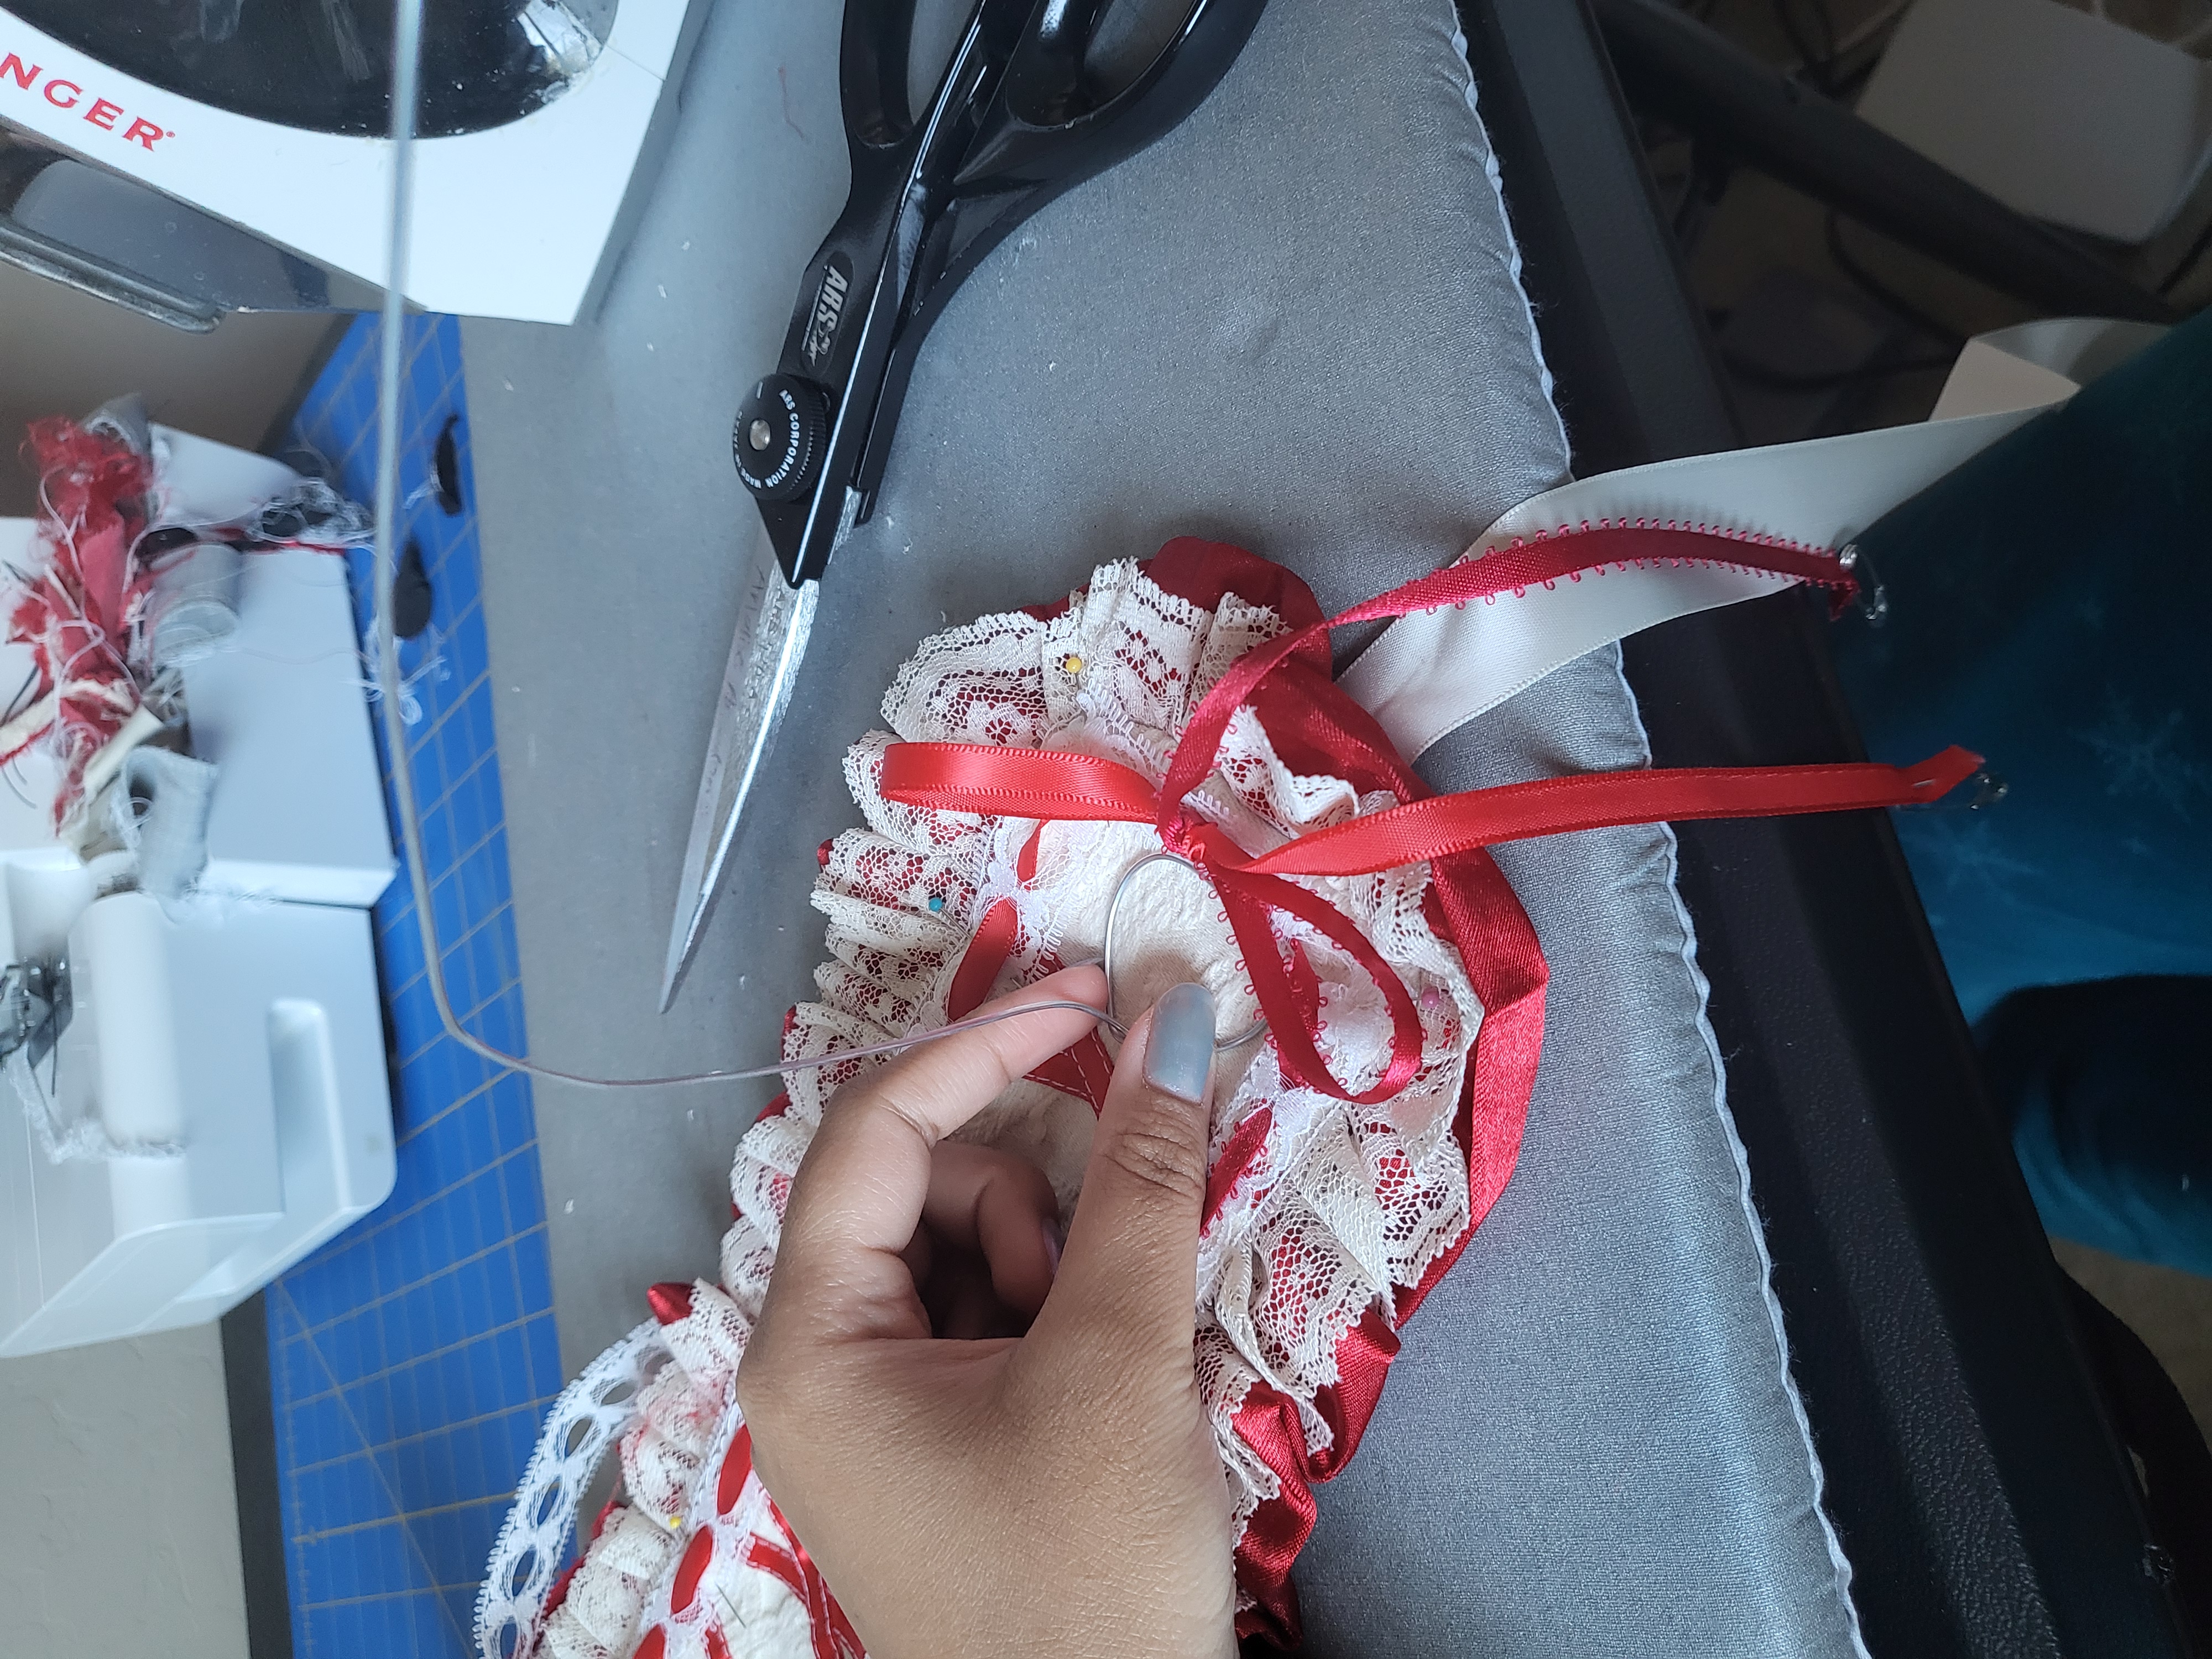
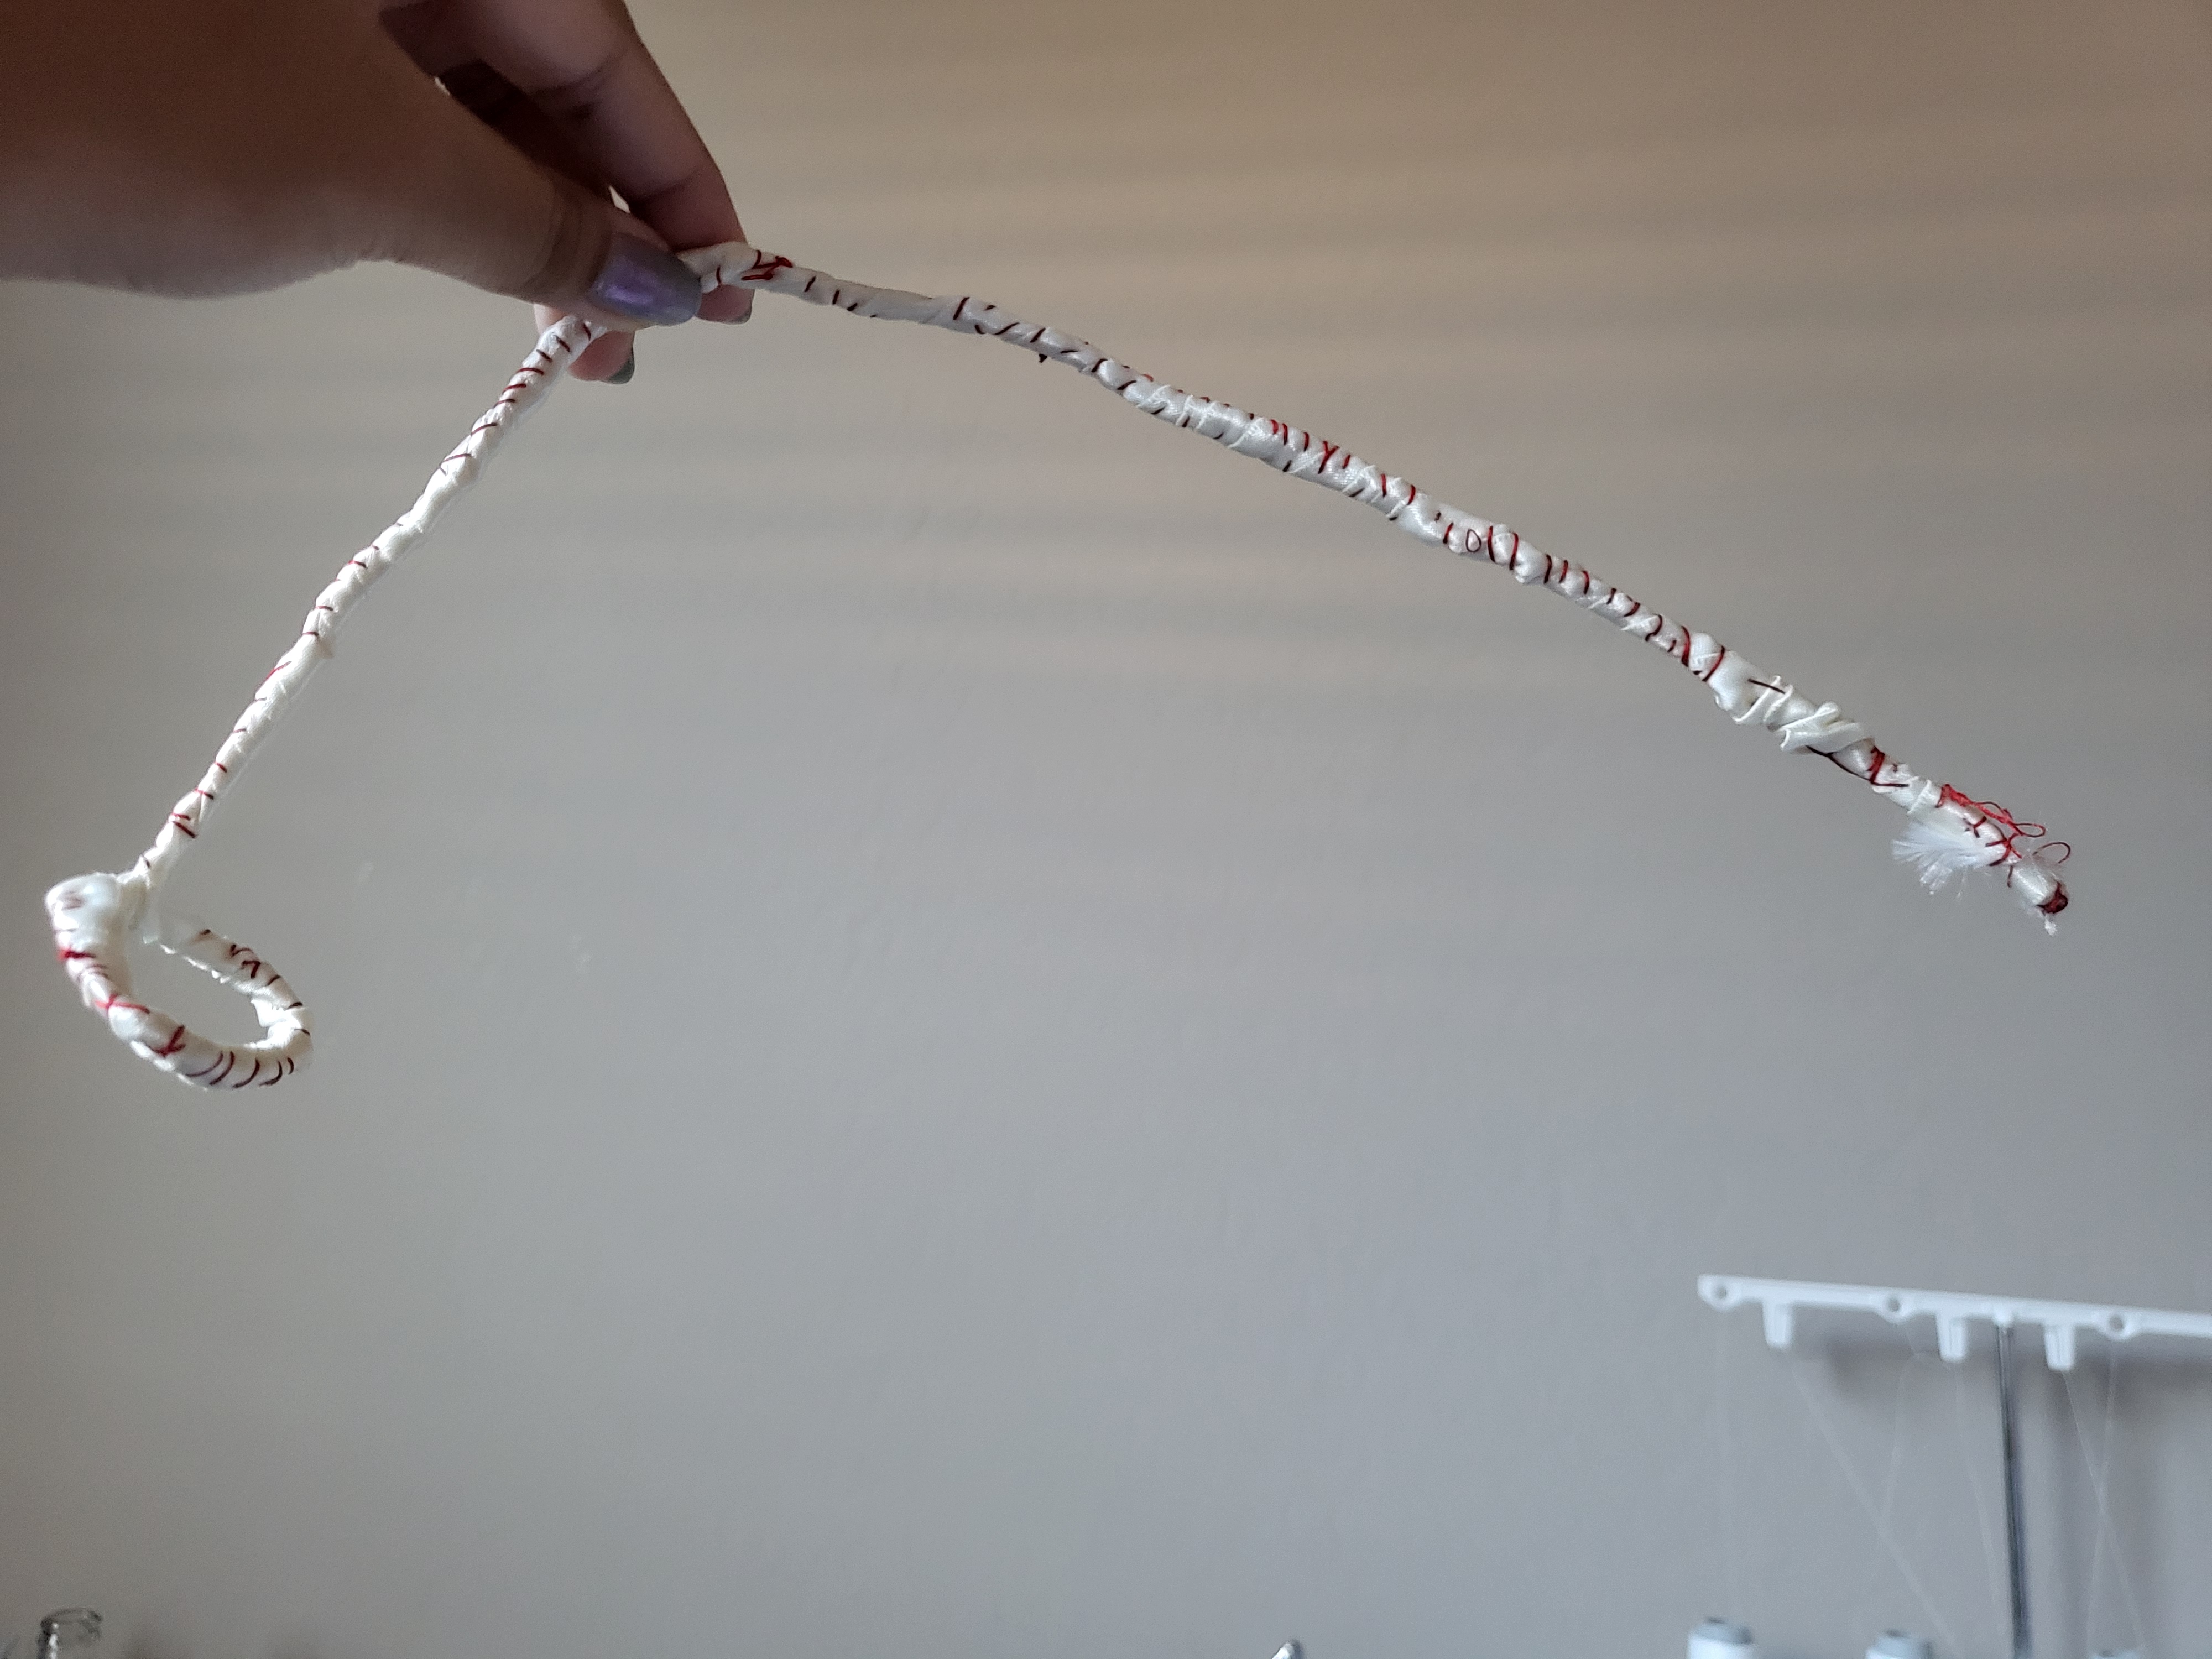
Here, I've already sewn down the criss crossing ribbon detail and now I'm sewing in the ruffle trim I just made. I gather all my trims by hand, adjust it around the base of the headdress, and then pull everything inside-out. I also make sure to add in the ribbon on the sides for it be tied underneath the chin (or behind the neck if prefered). Then in the last picture, I was testing to see how the wiring for the angel headdress would look and where I should place it.
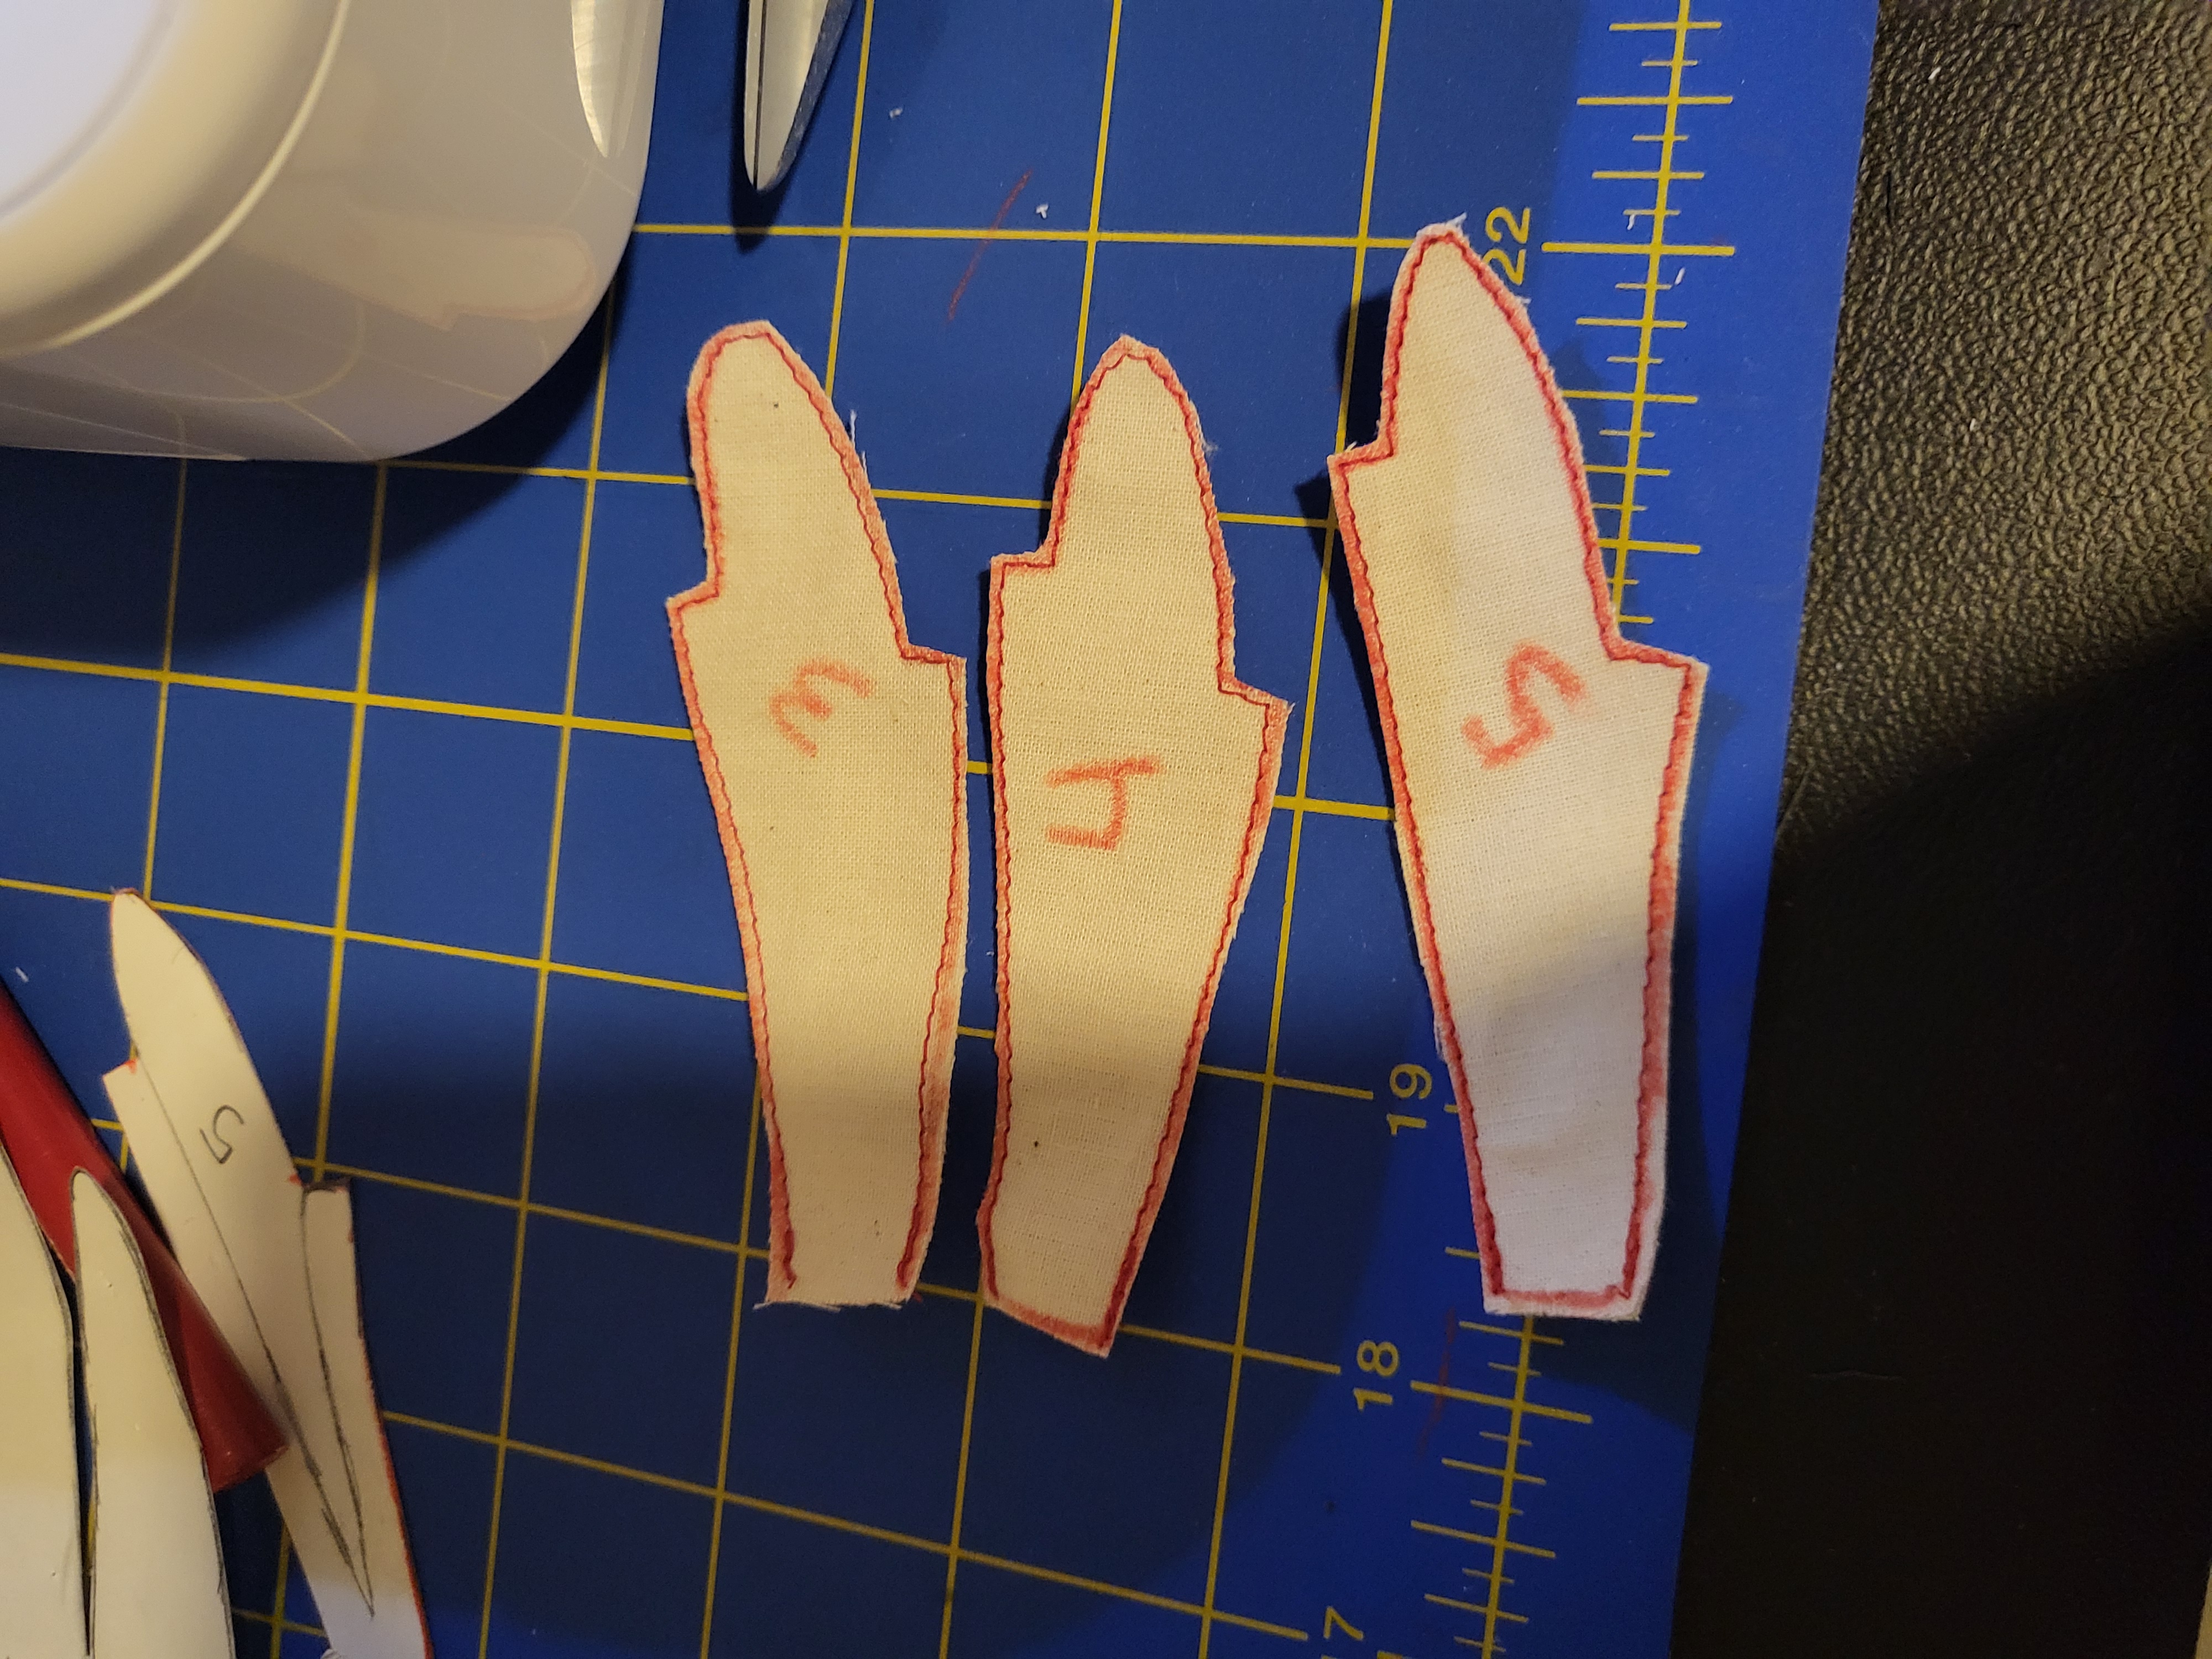
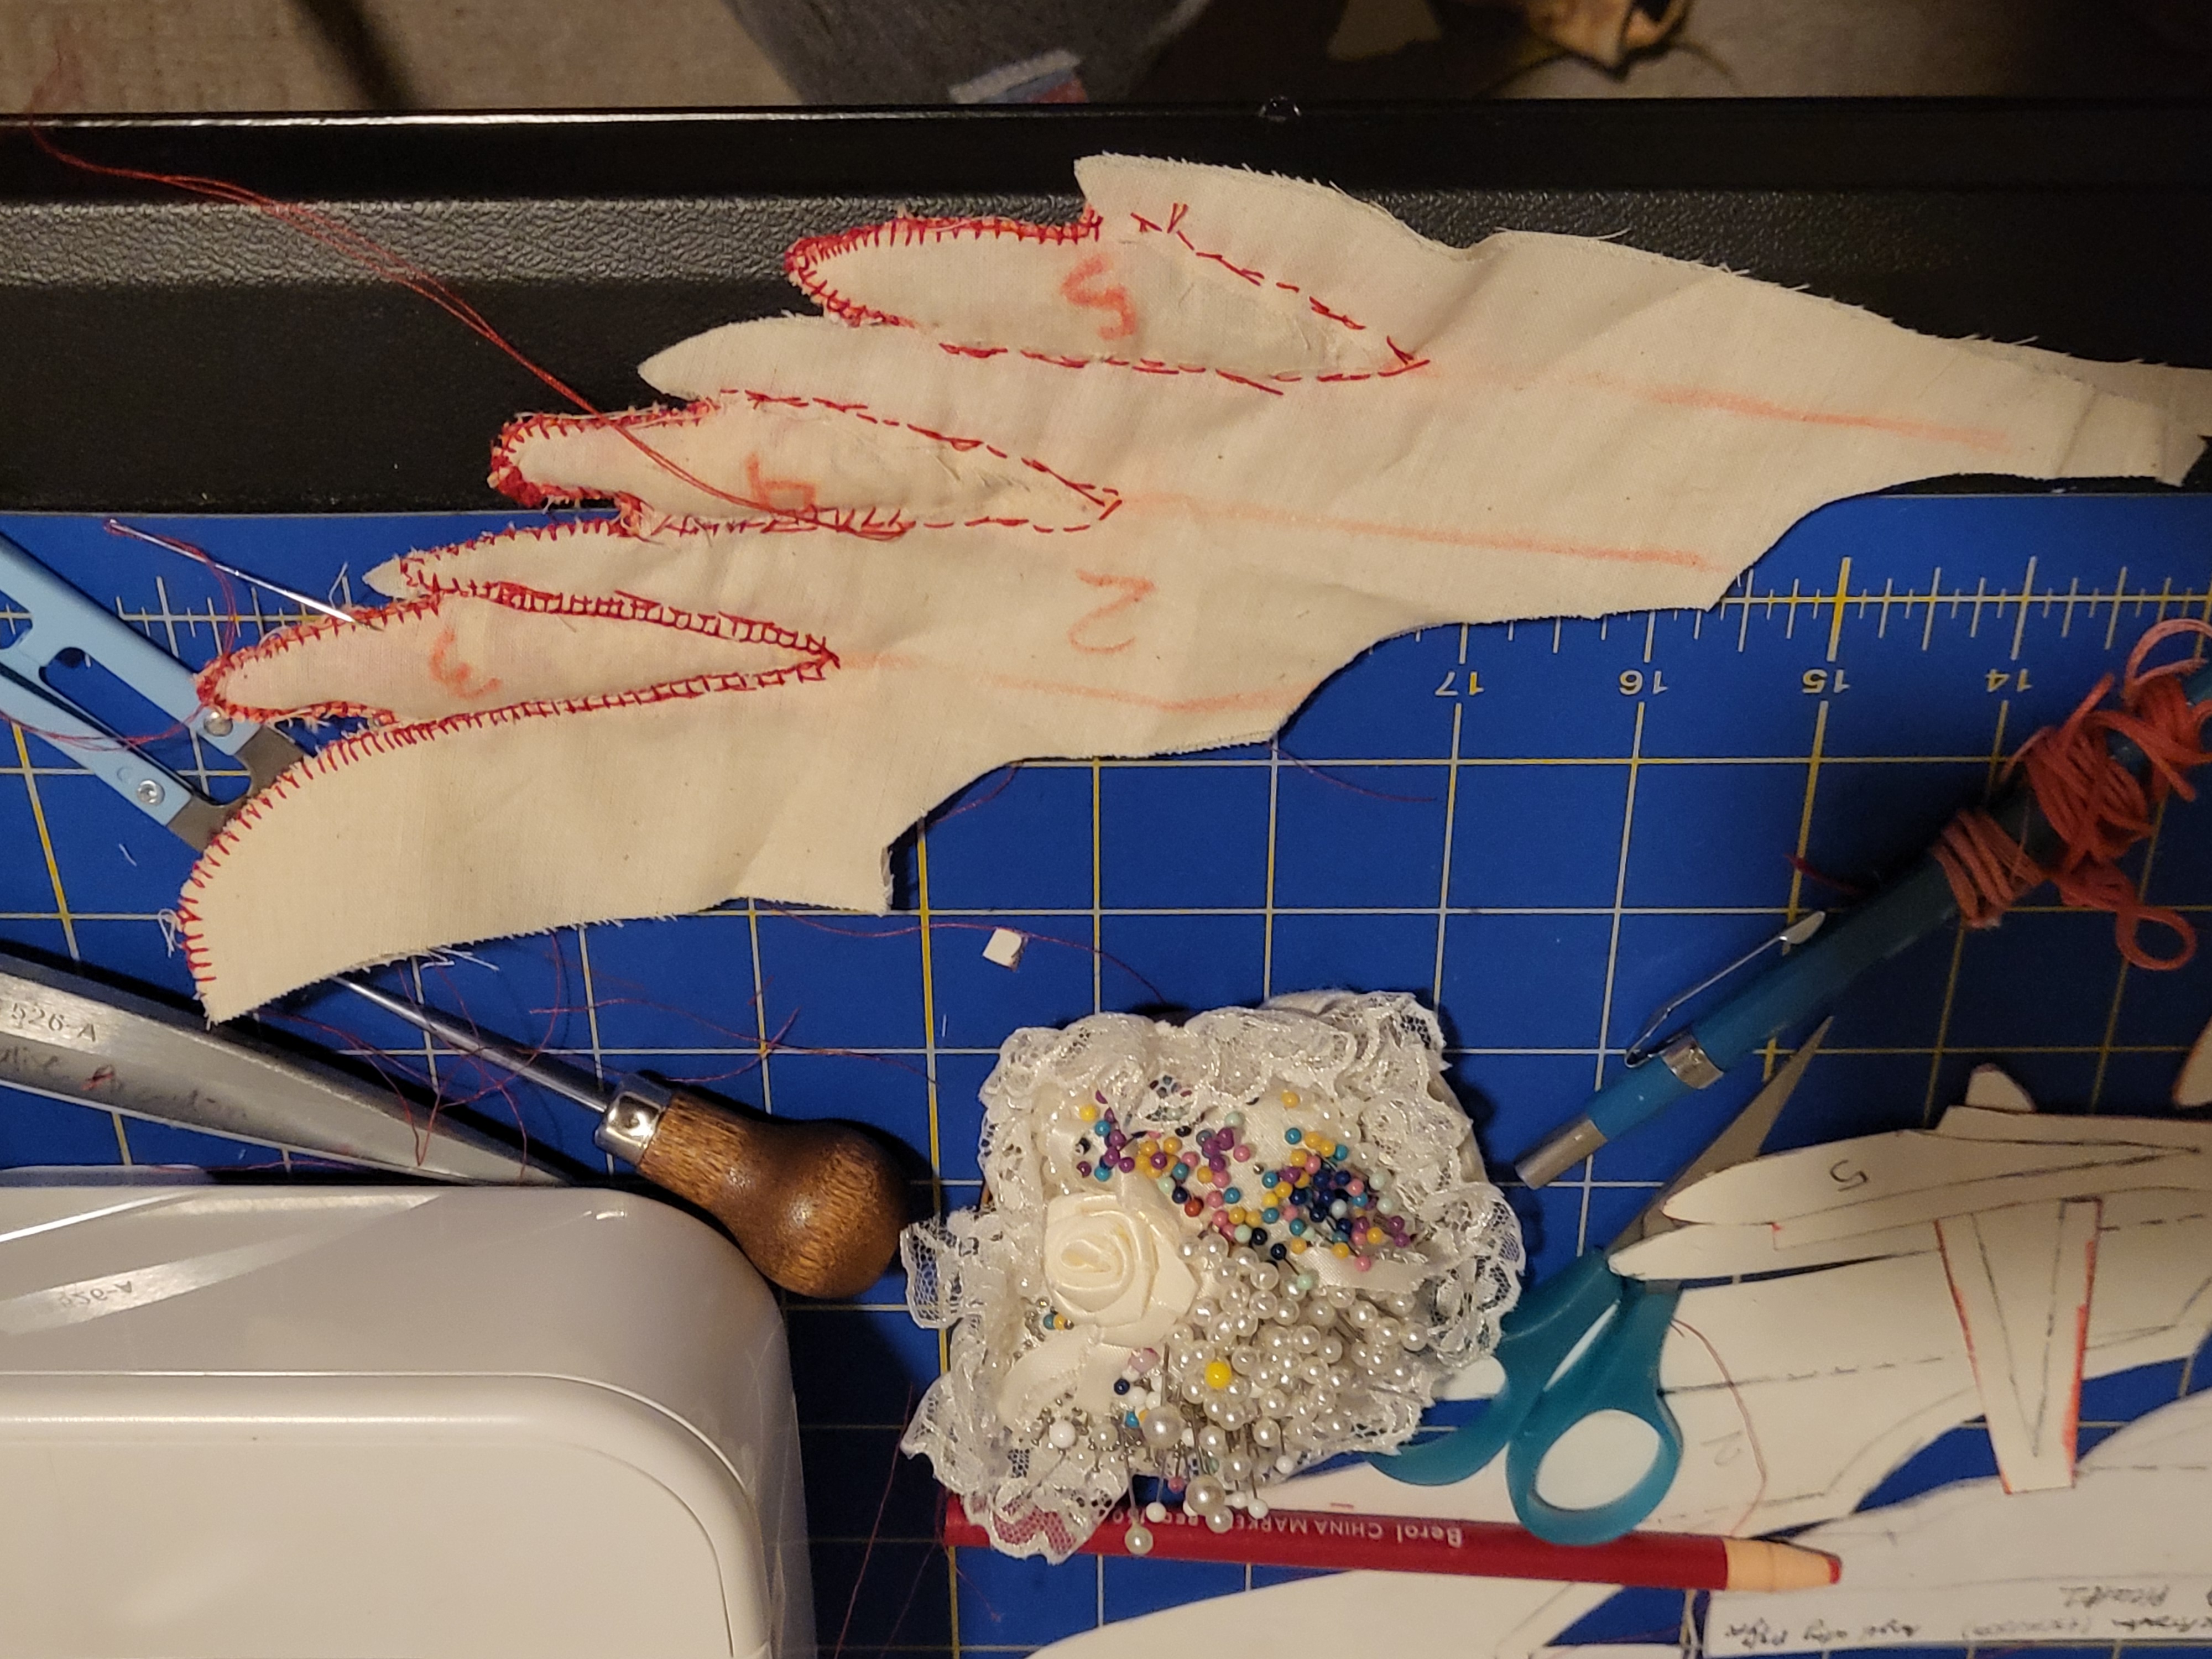
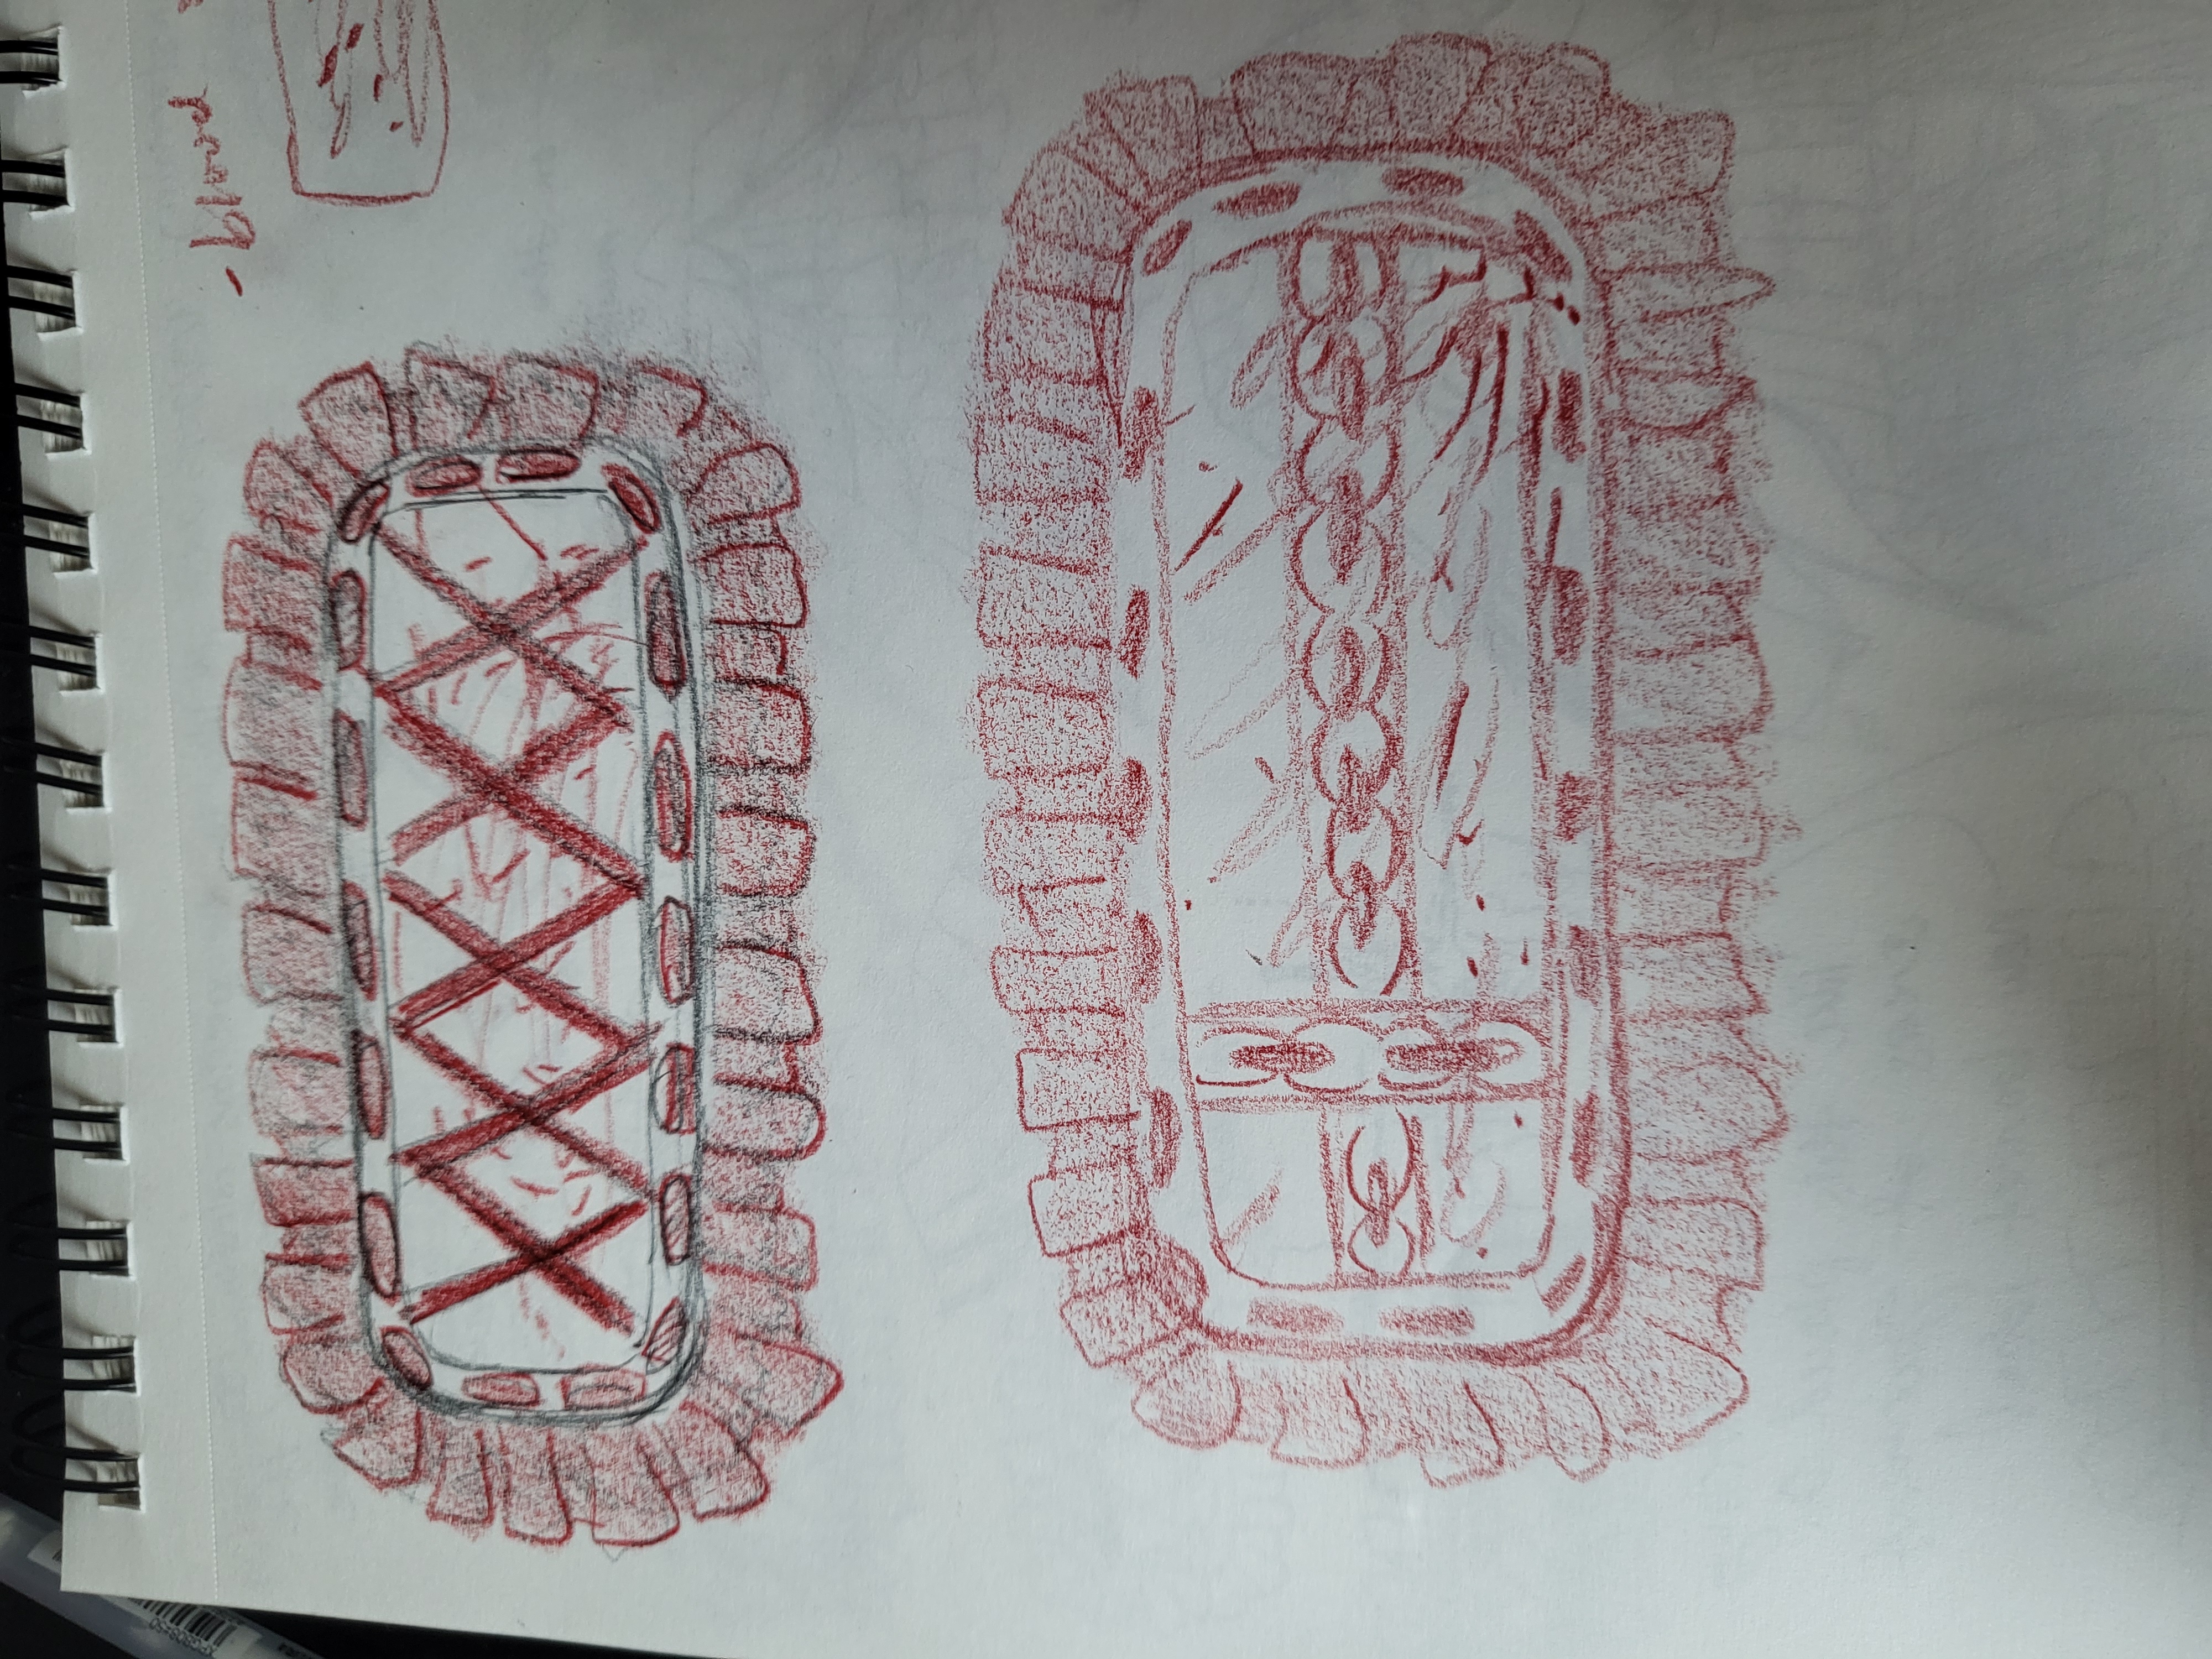
Now we're at the part where I was not too happy with how the feathers were going. The first two pictures were supposed to be how I had initially designed them to be, but trying to execute it was.... not too good.... So I had to change my approach when constructing it.
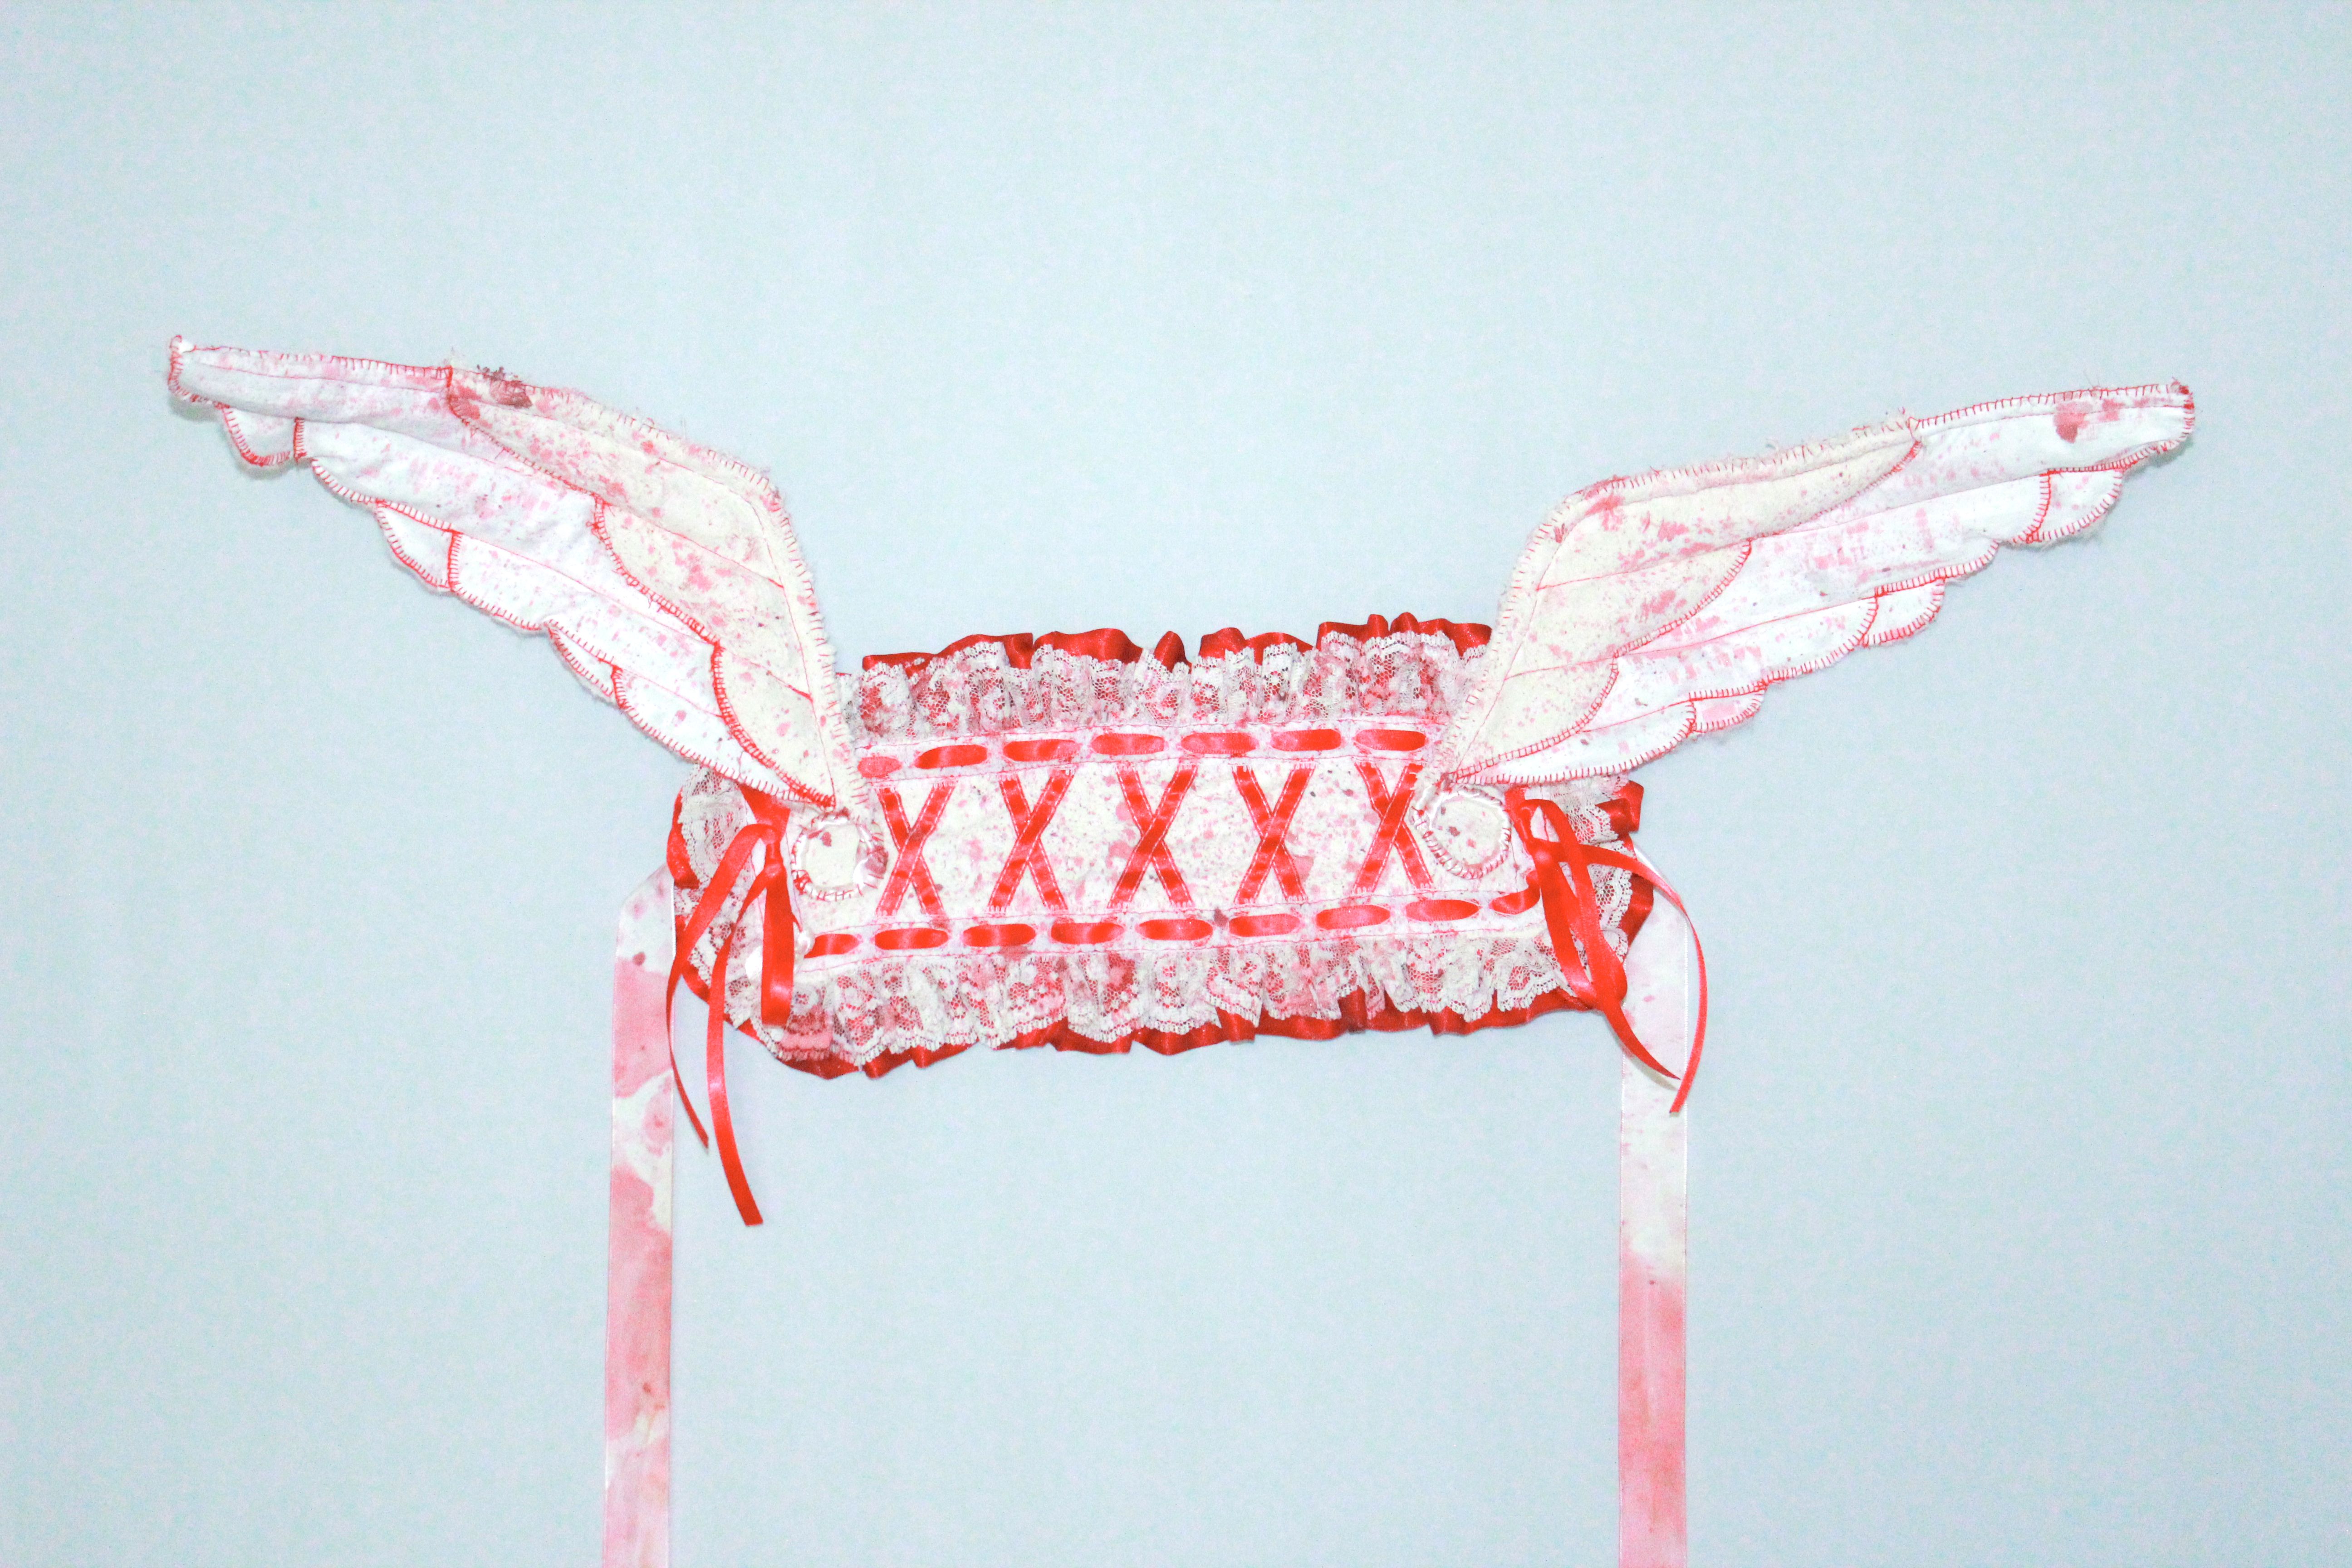
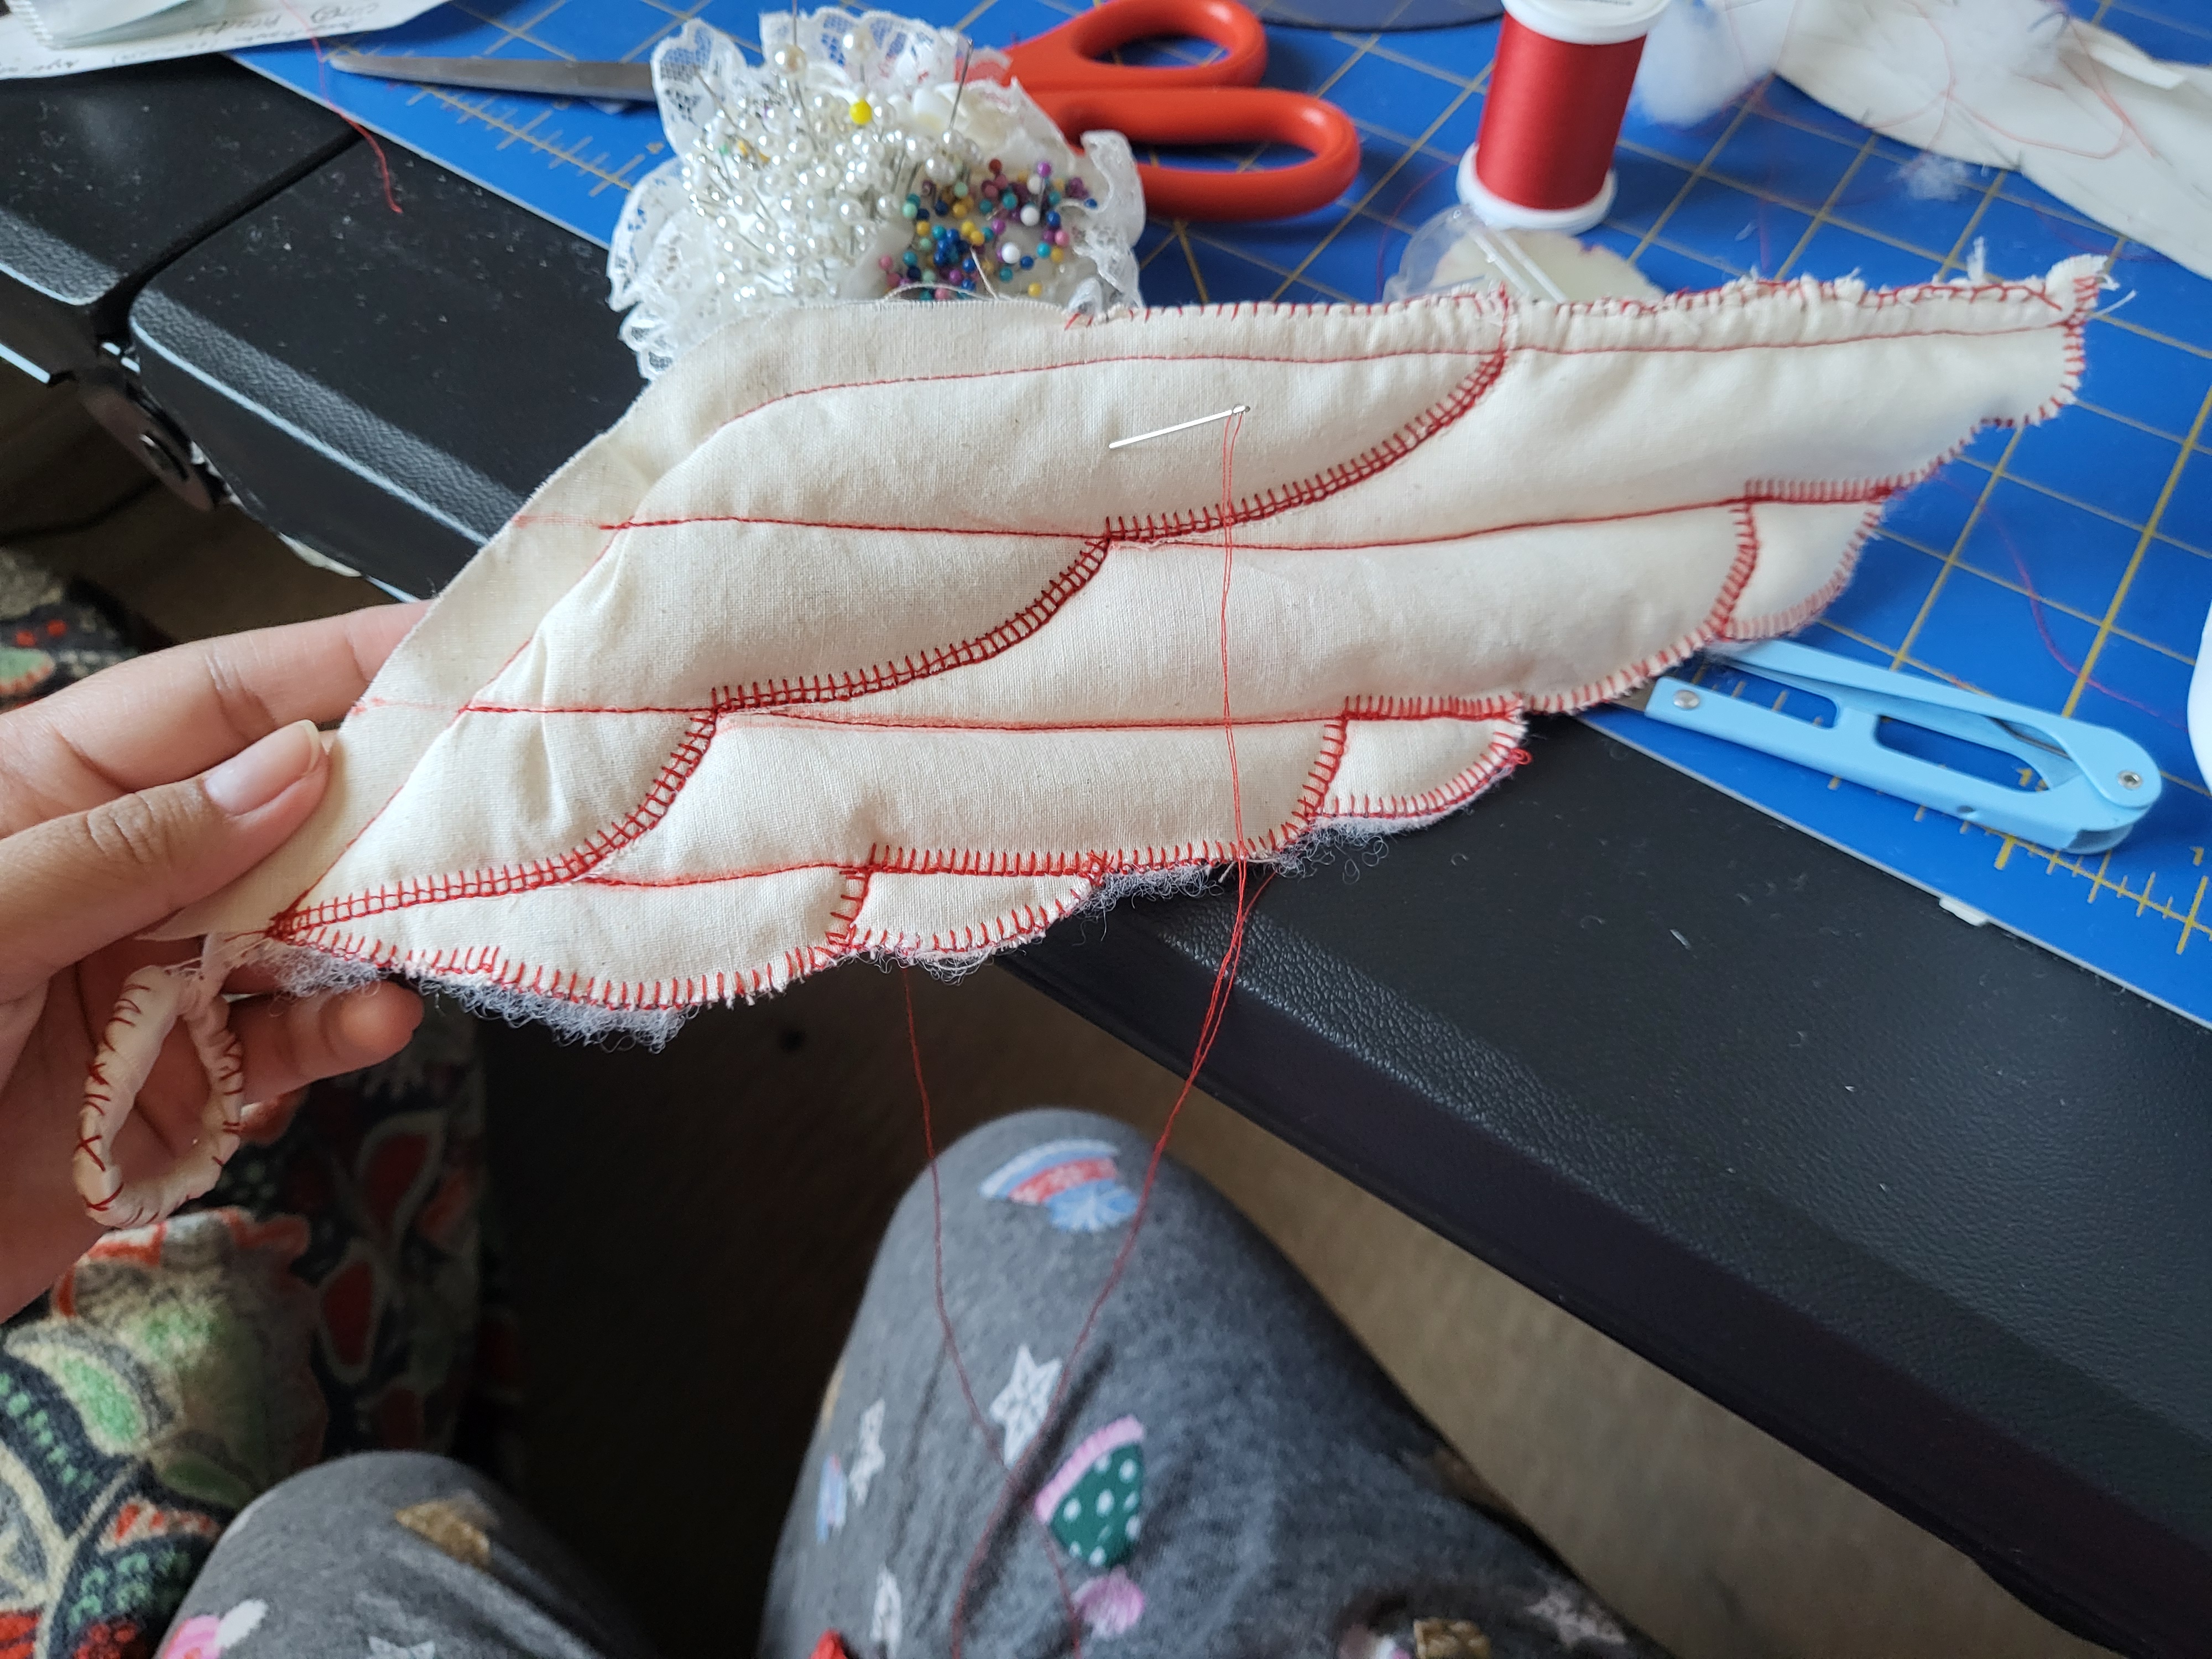
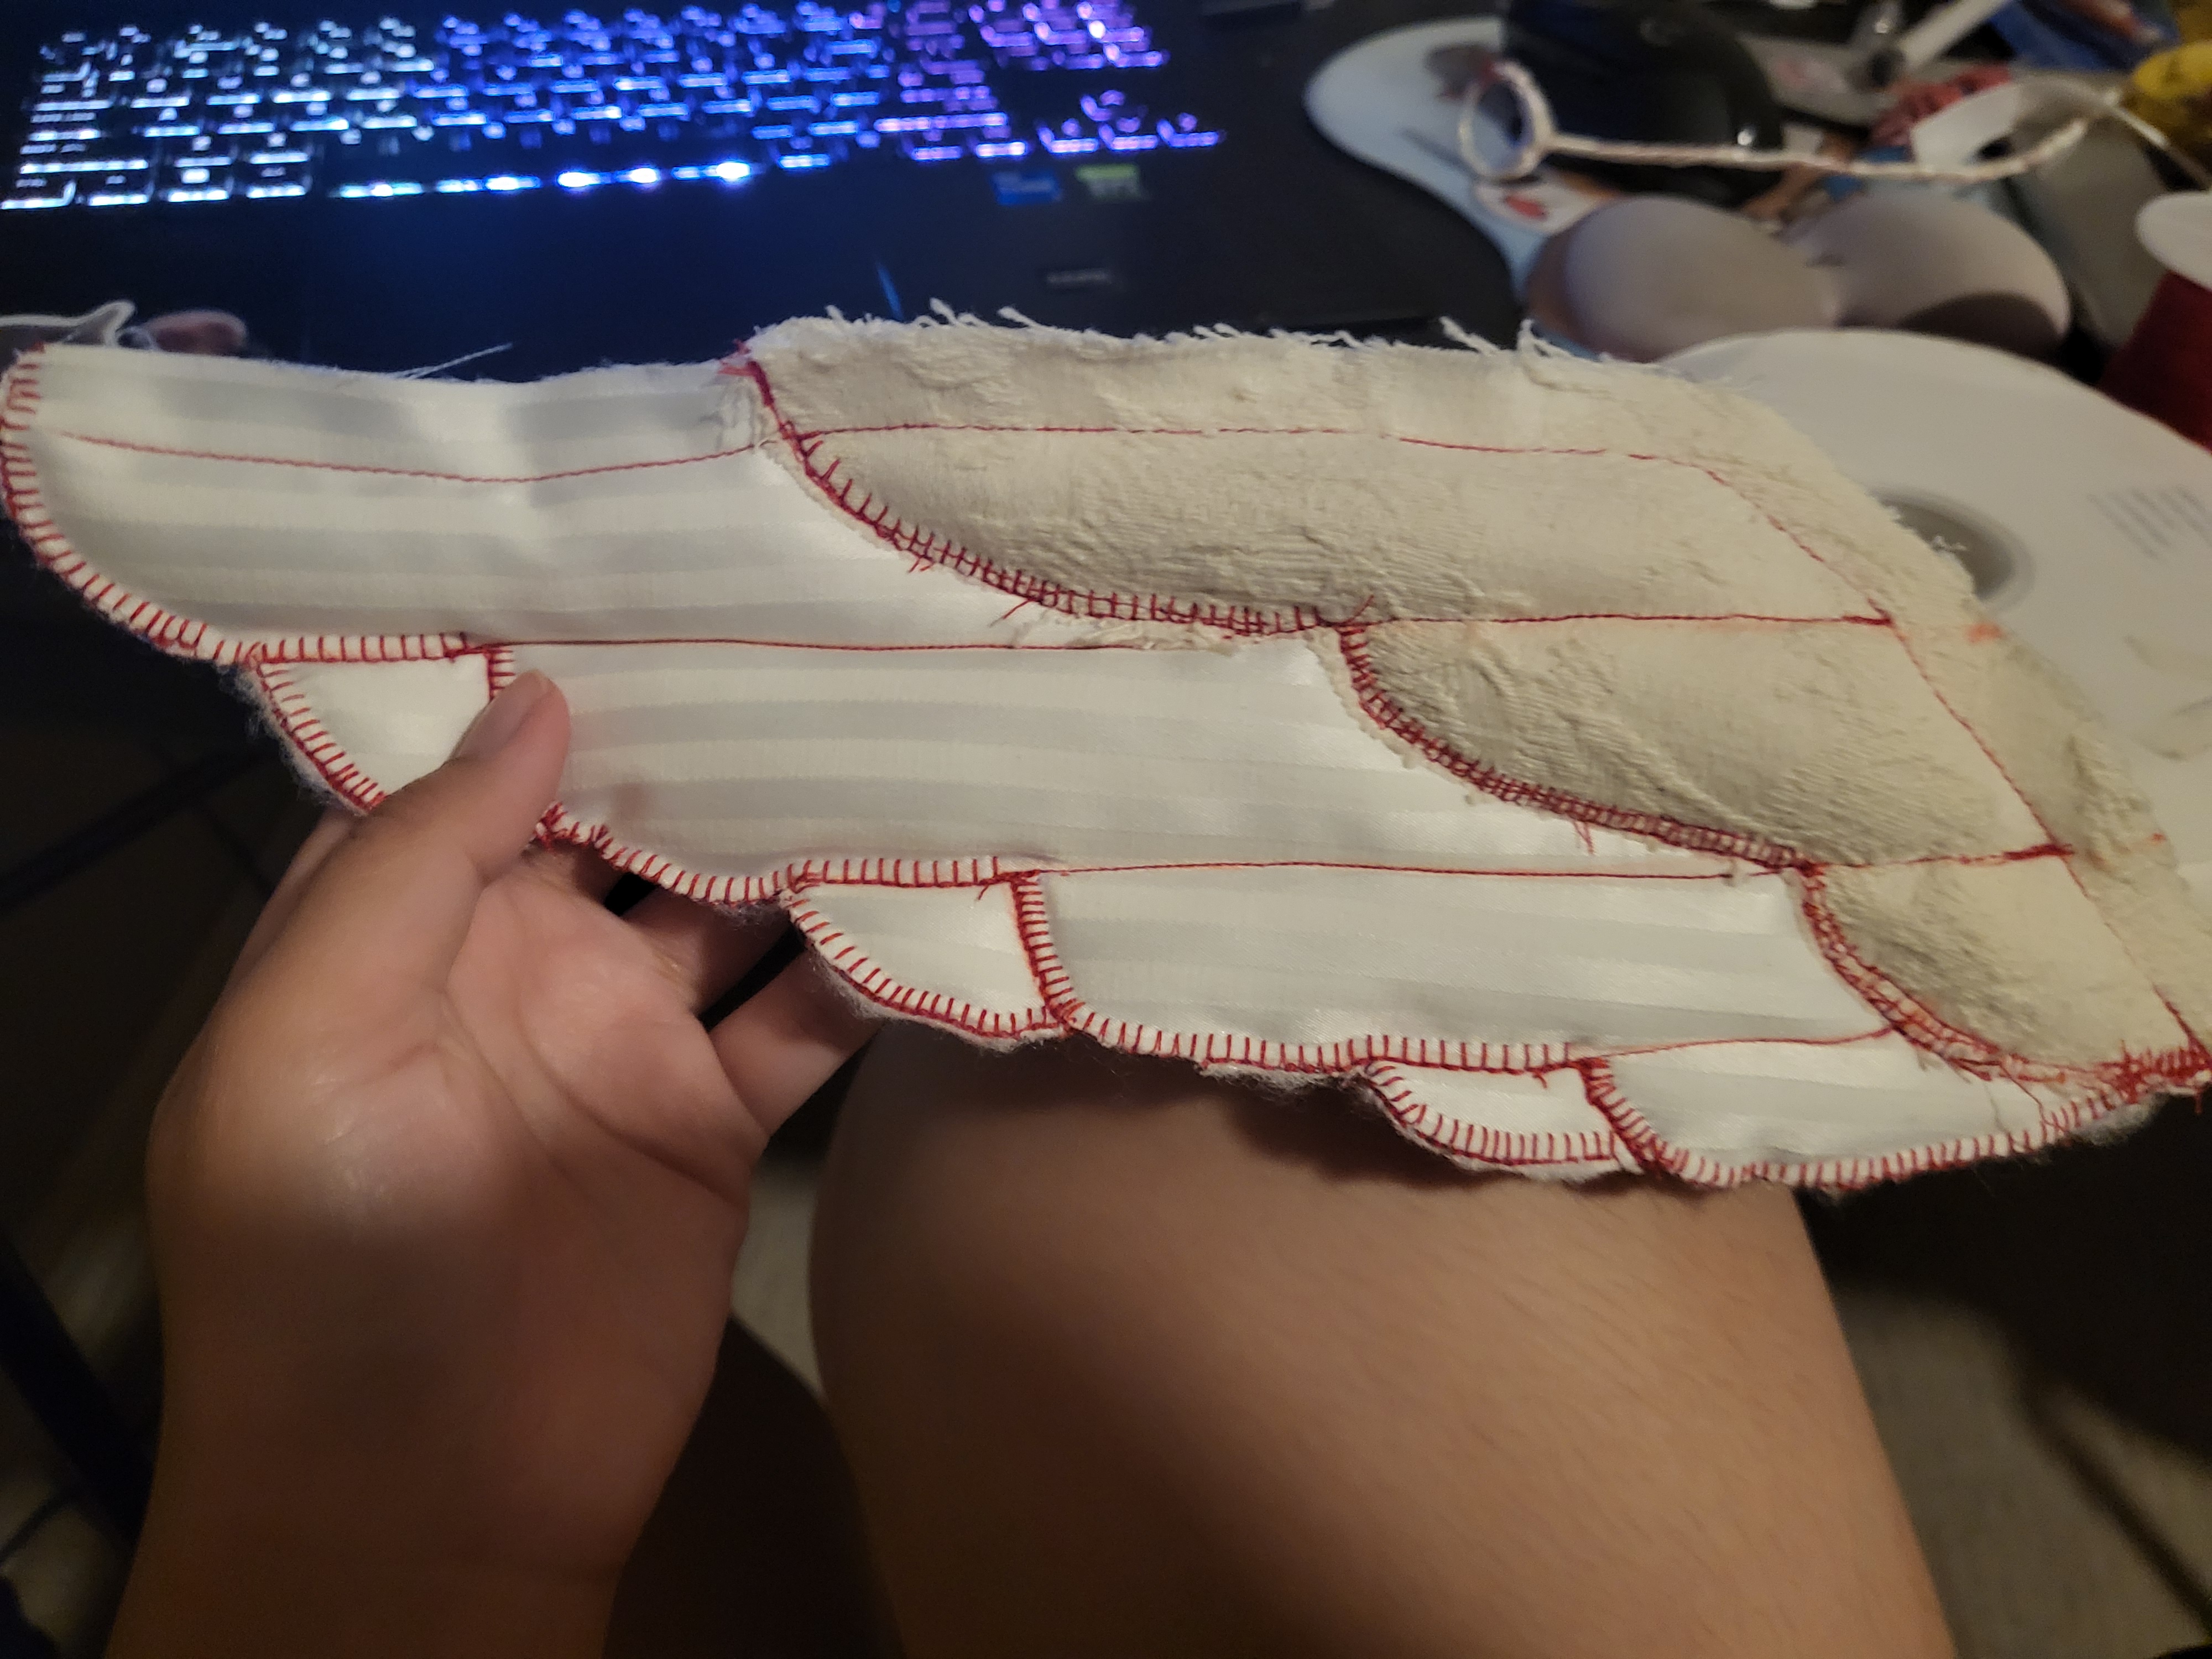
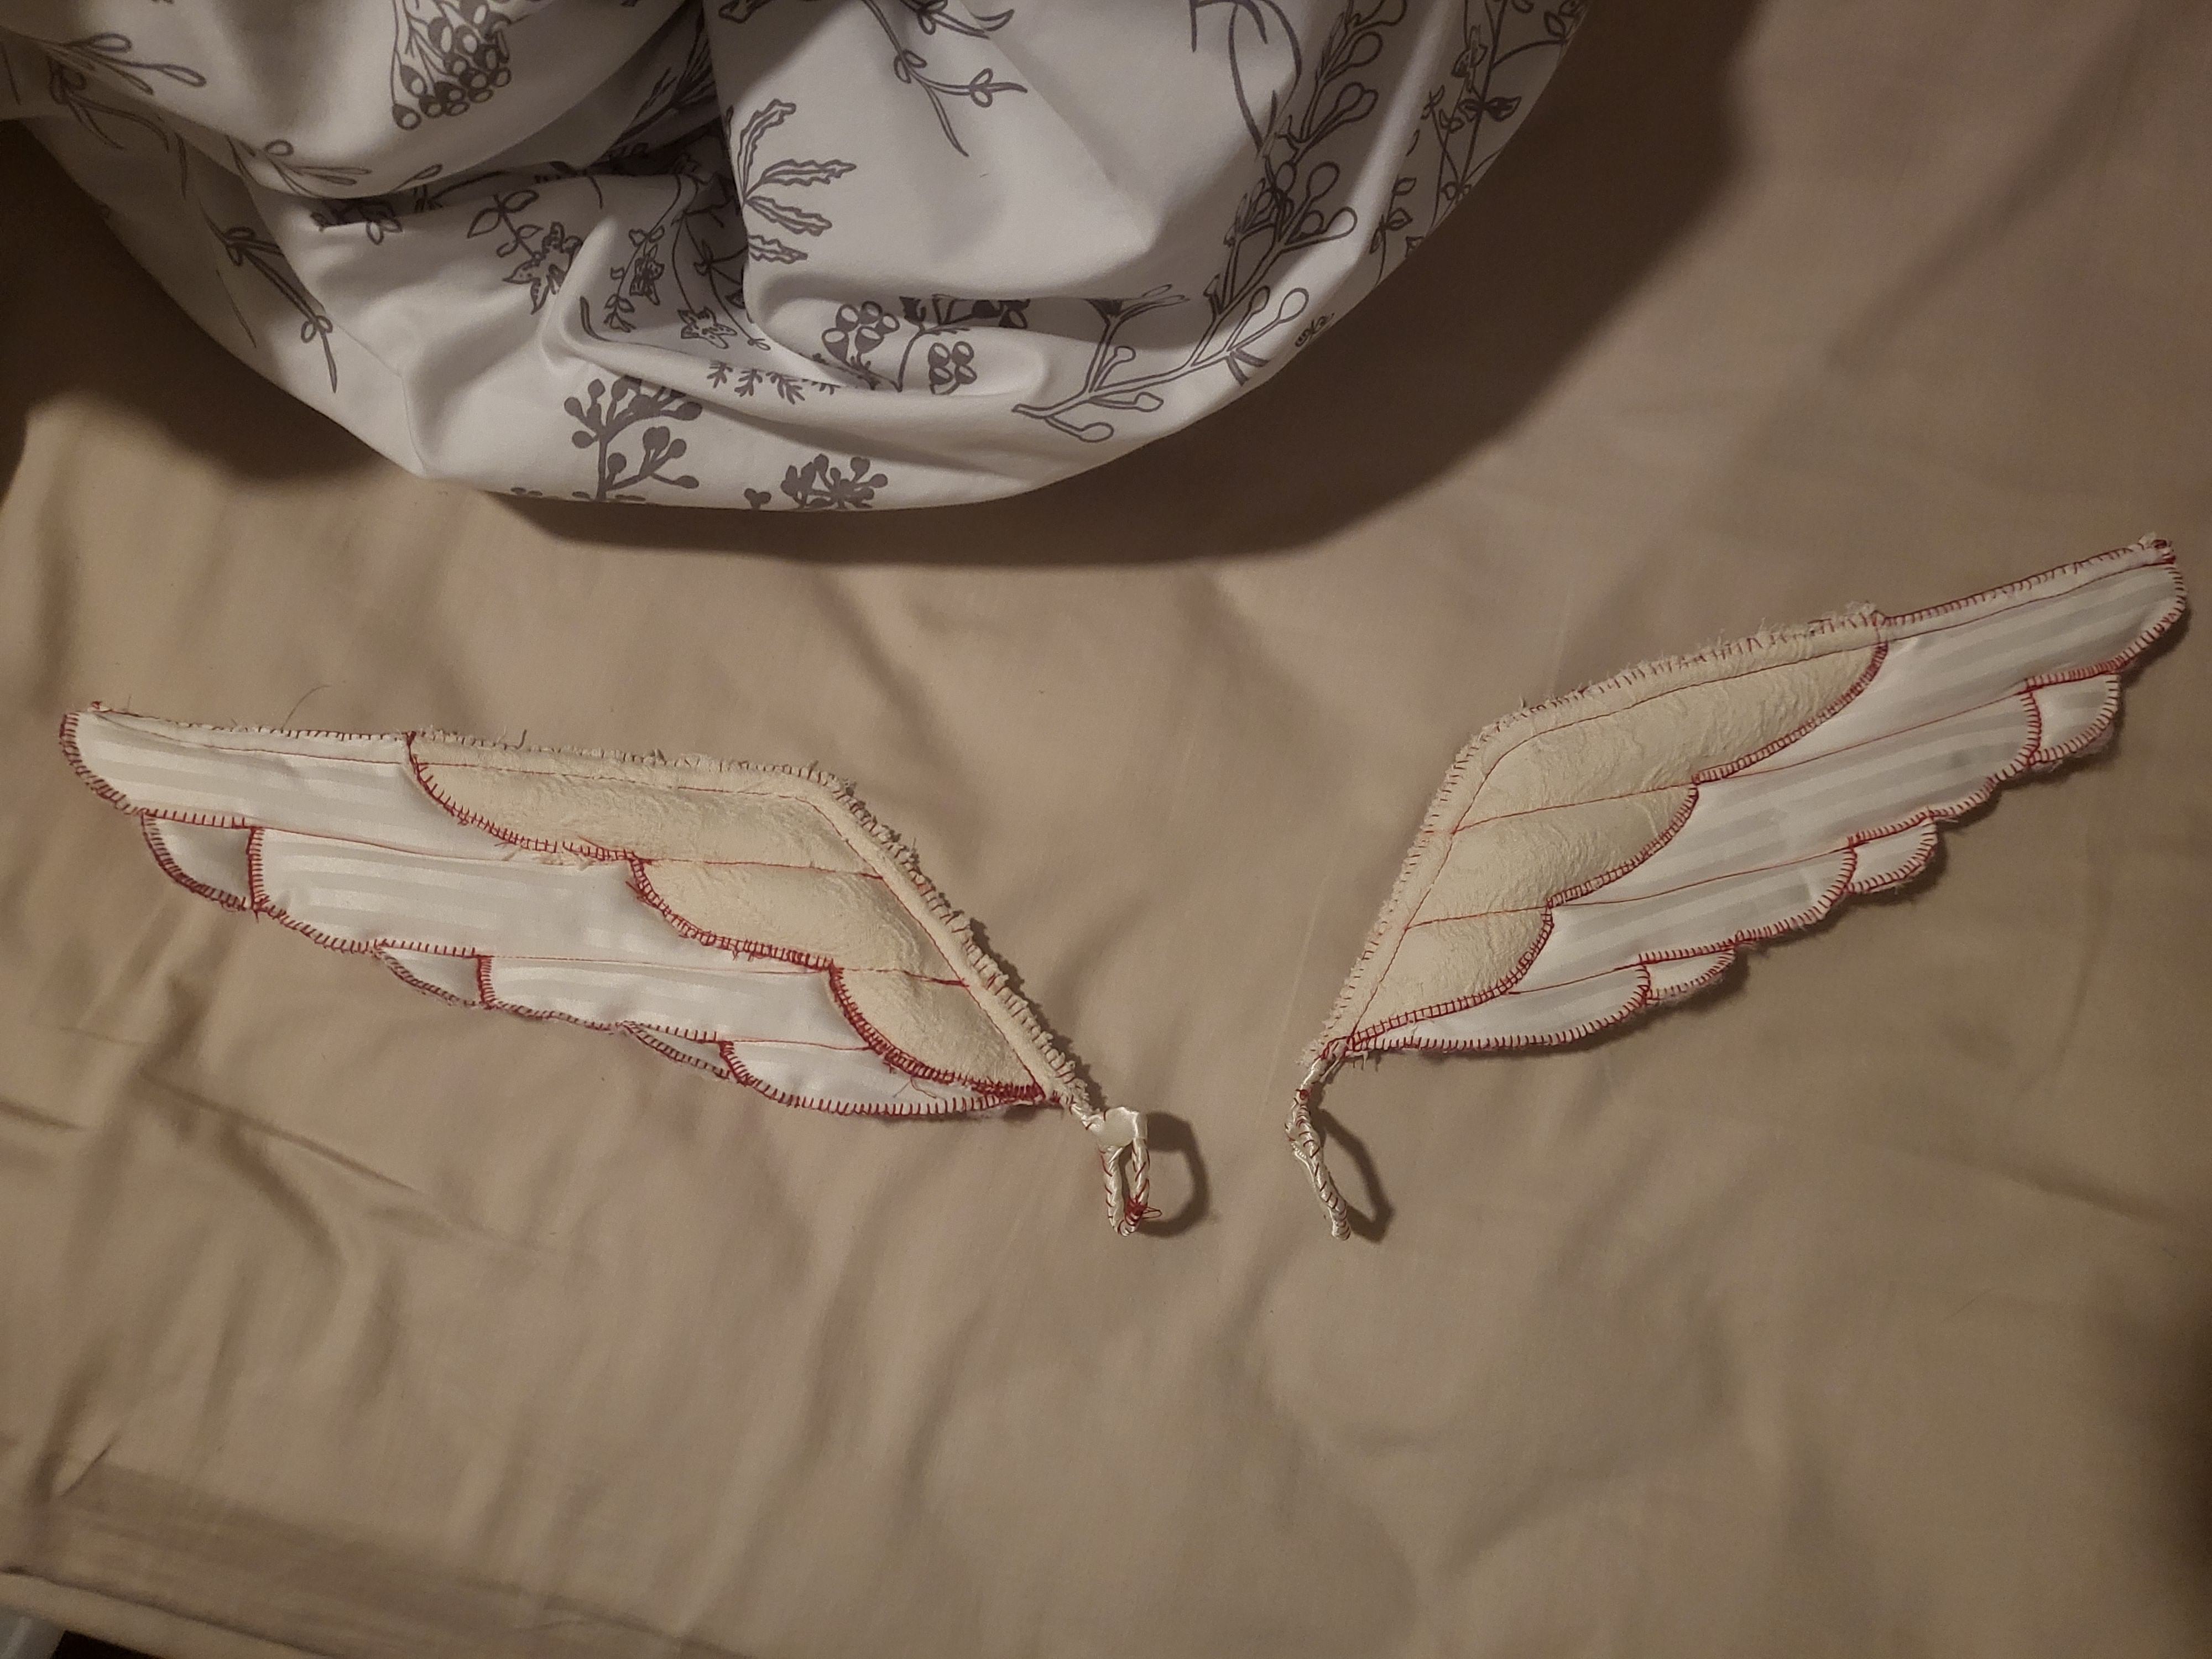
I ended up drafting a new pattern for it, and it made it so that the feather wings had a more cleaner quilted look. The new version I made was a lot easier to sew together, especially when it came to pushing in the filling. I used the blanket stitch setting on my sewing machine to outline the feathers. The rest of the handwork was wrapping the ribbon to the wiring and sewing it down, and then closing the top of the wing onto the wiring by sewing on a blanket stitch by hand. Looking back on this, I should've doubled my thread instead of using a singular thread, but that will be for next time when I make these again for my future project.
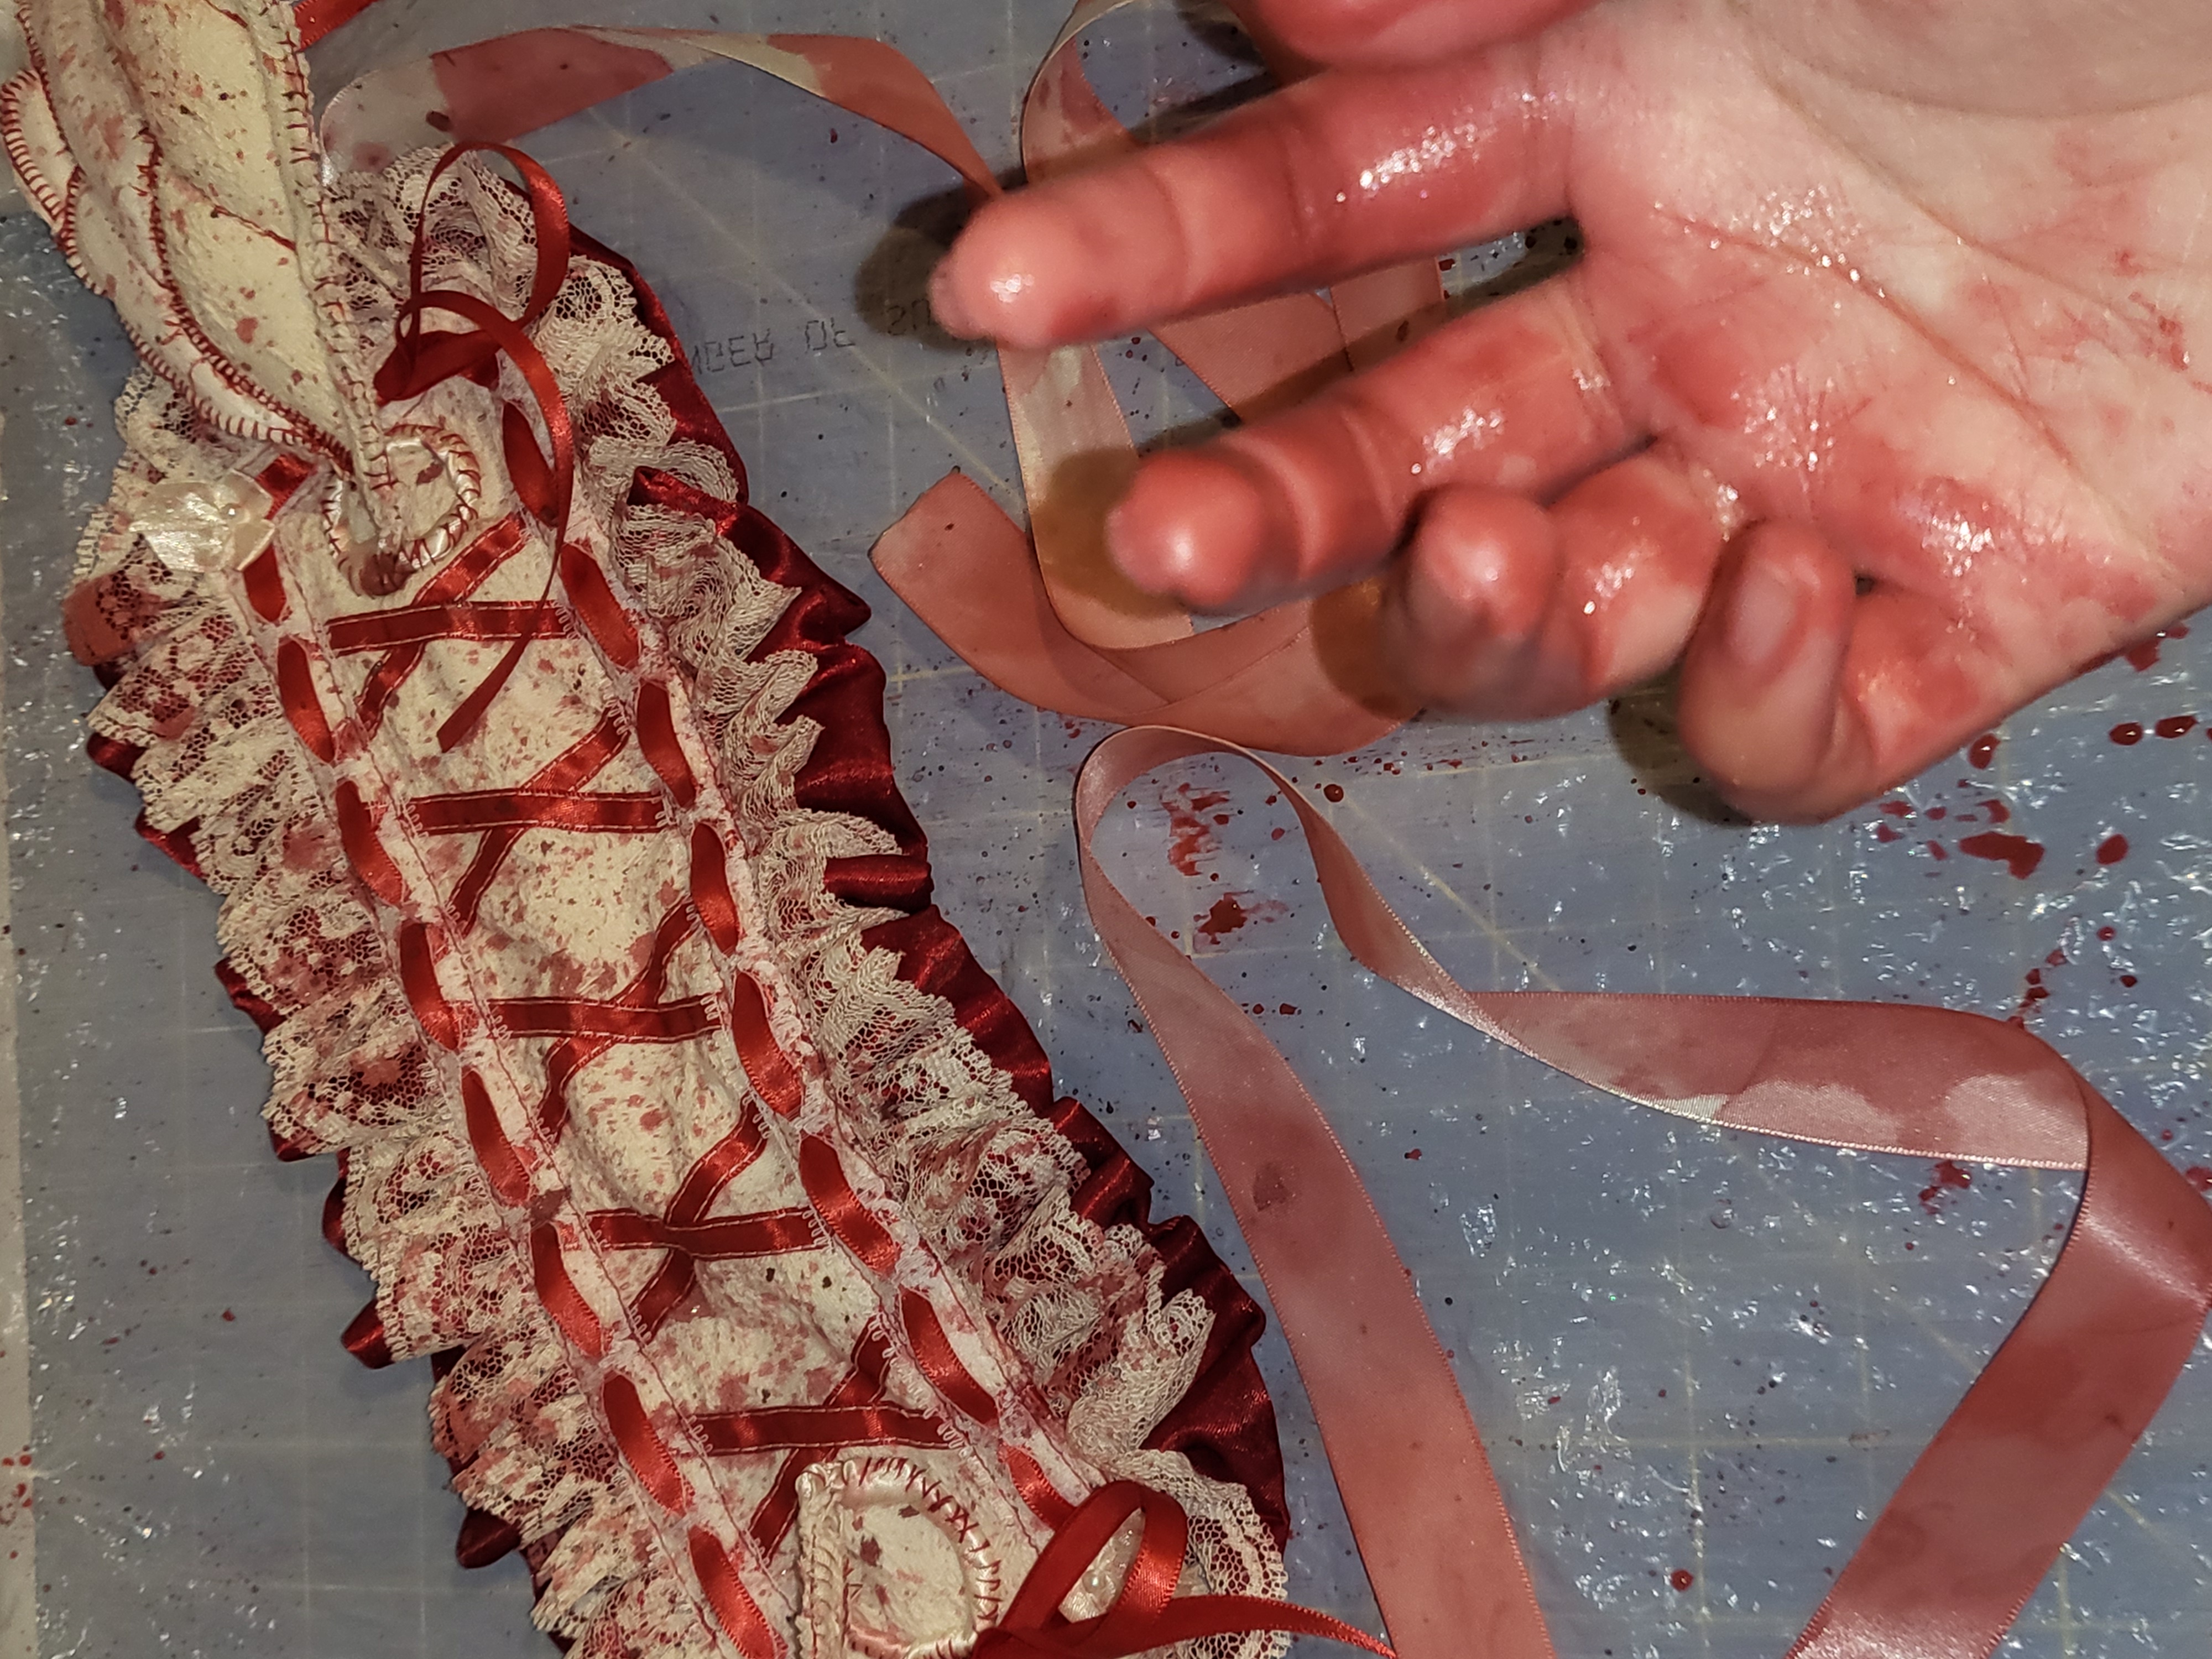
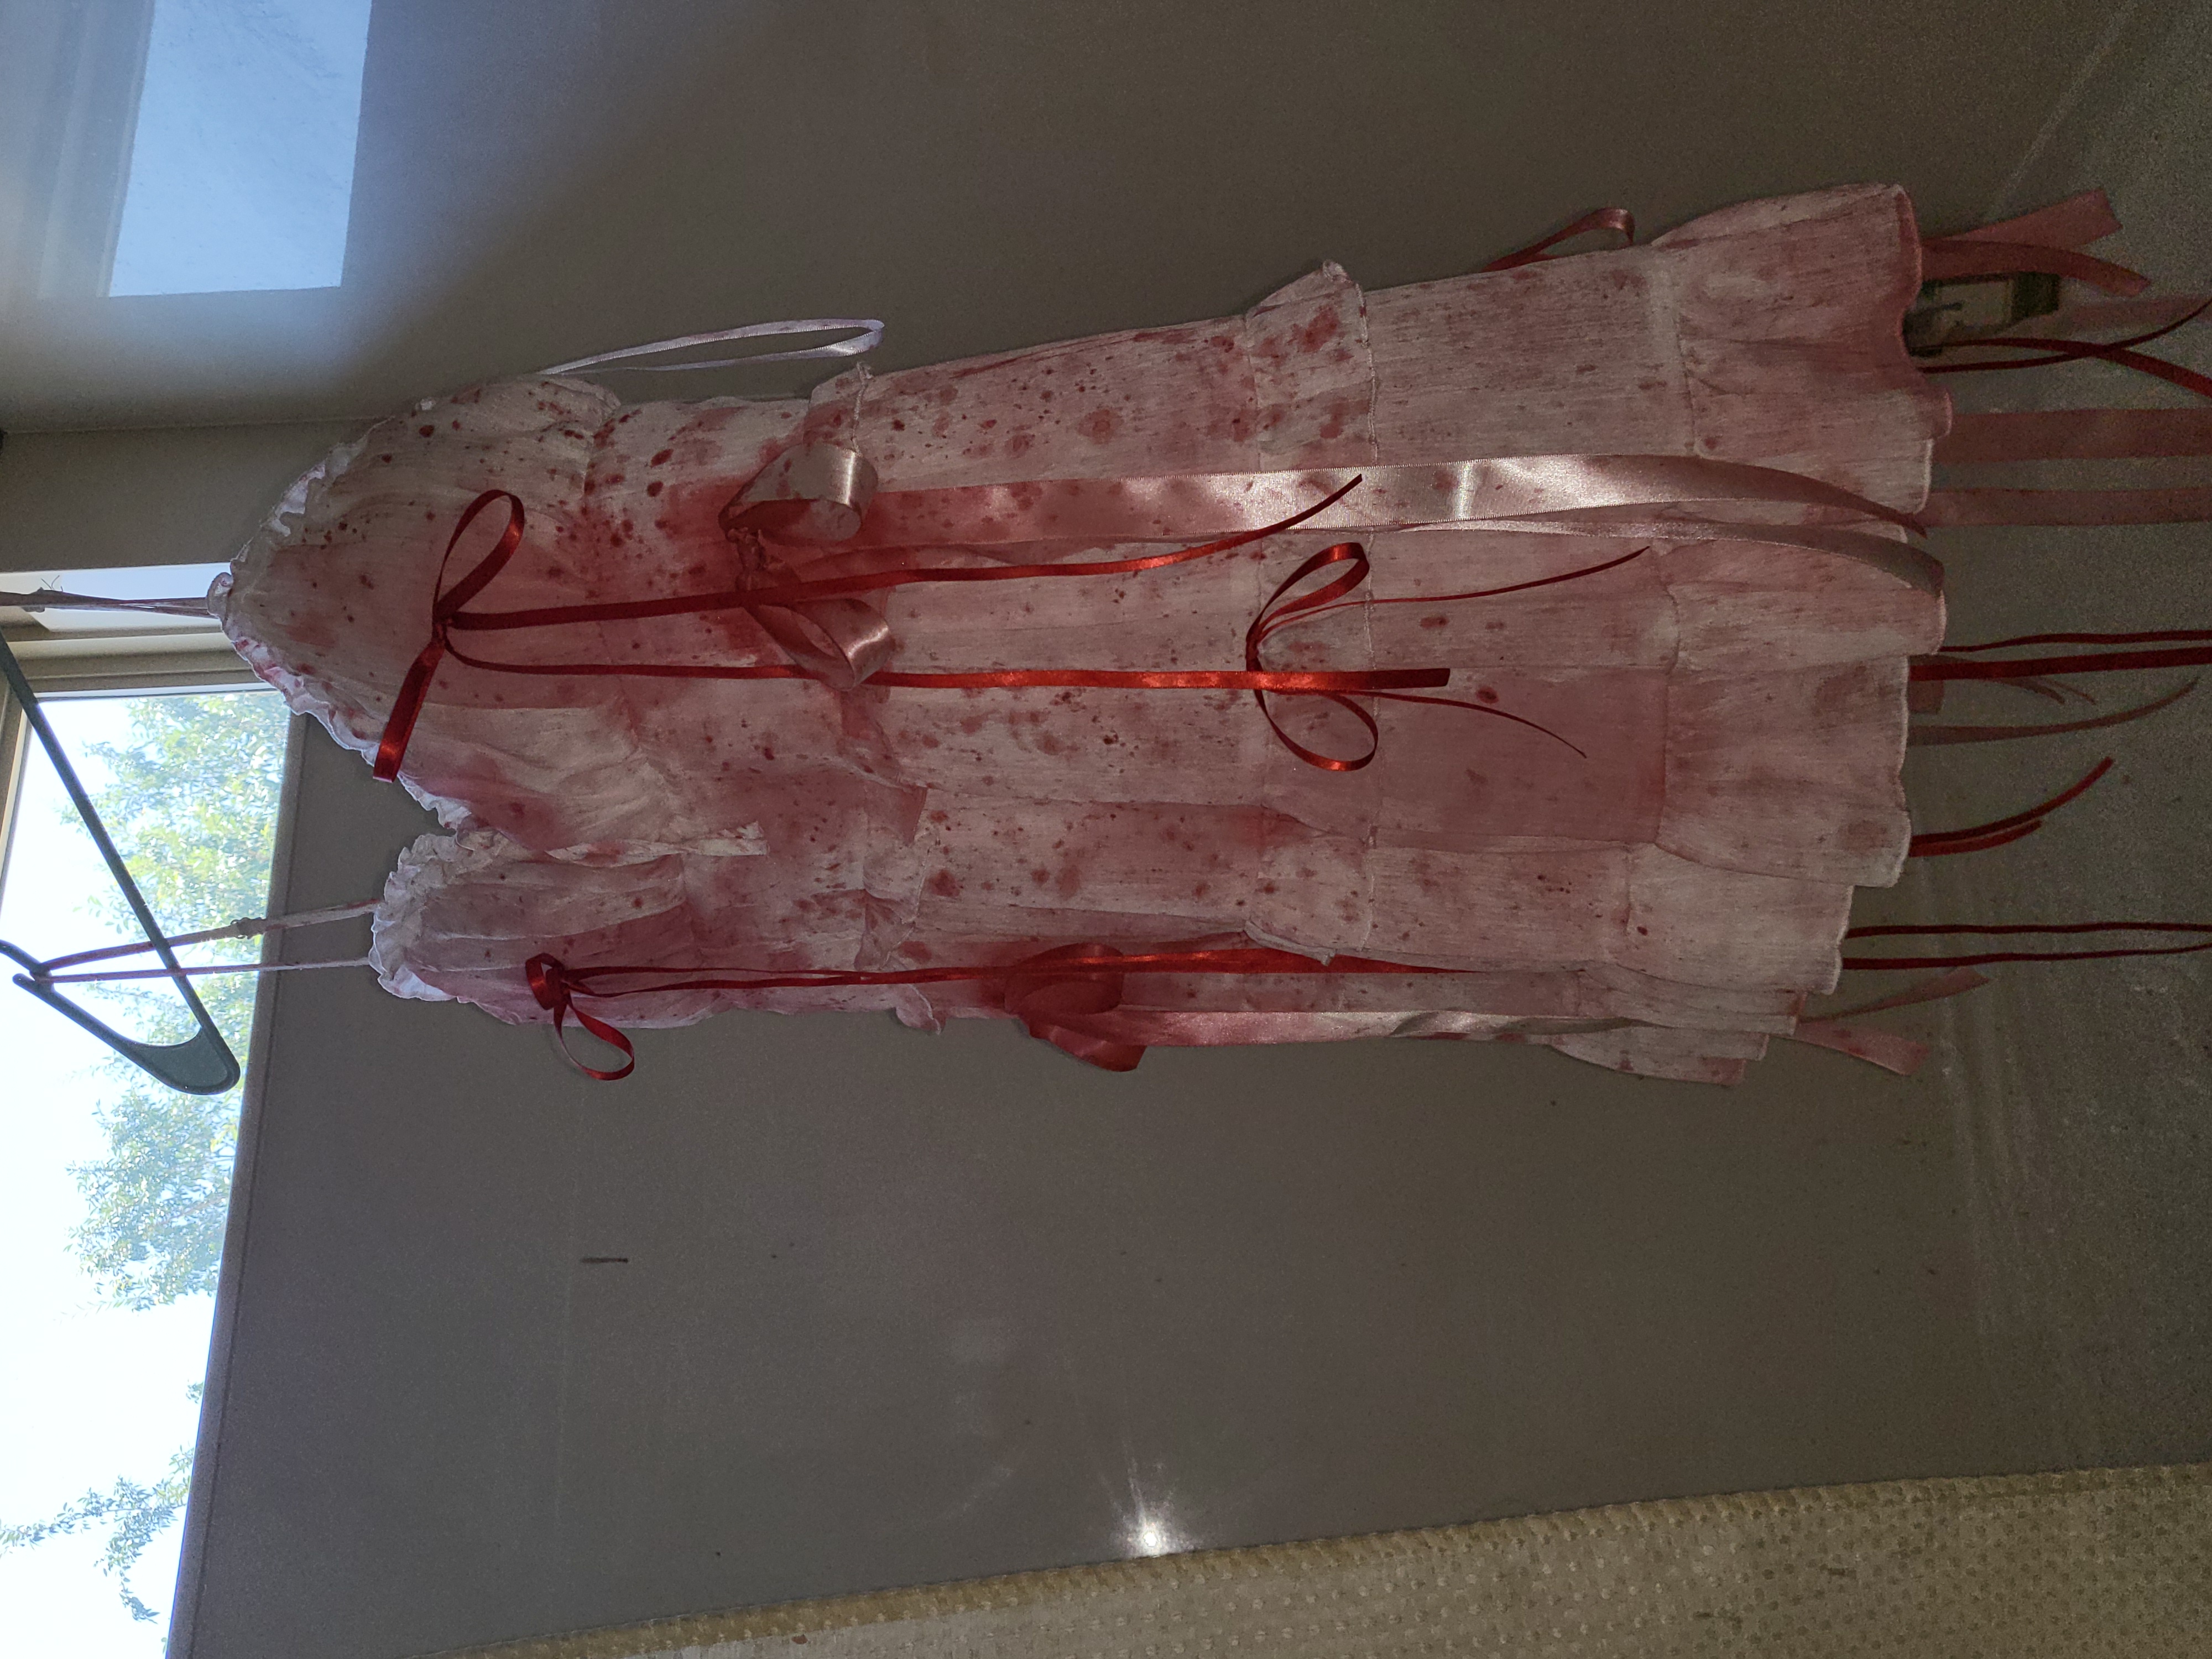
Lastly, here's some little bits of the end of getting everything together! I added some fake bl00d using some old acrylic and fabric paints. Splattered everything on there! Then it wasn't until later when nezumi reached out to do a collab with me, so we got together to organize everything and figure out how we'd style it. Nezumi brought in a dress for us to get bl00died, so I also splattered some more paints onto it and made it as crazy looking as possible with some ribbons to go with.
And so that's that! I hope you guys enjoyed the outcome of what Nezumi and I created! I'm super happy with how everything came out, and I want to continue to create more things similar to this (which I will in the near future for my big... major... project...). Please look forward to seeing more my work :^D
ALSO GO CHECK OUT NEZUMI!!! Literally such a talented drag artist and they also have amazing creations and collections they've showcased!!!! NOWNOWNOWNOW!!!!